


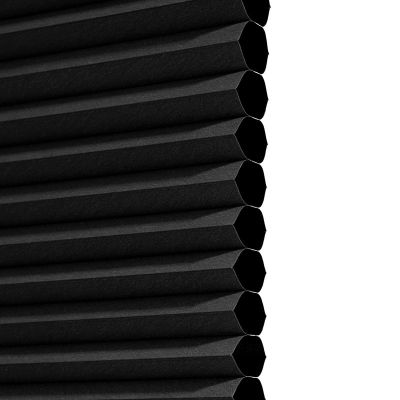
Honeycomb Openview Electric Blind
Discover everything you need to know about the Honeycomb OpenView Electric Blind
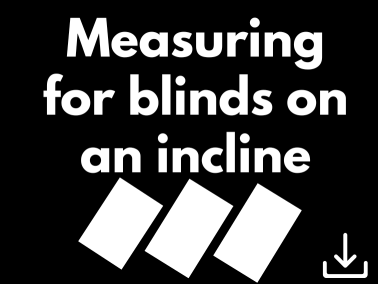
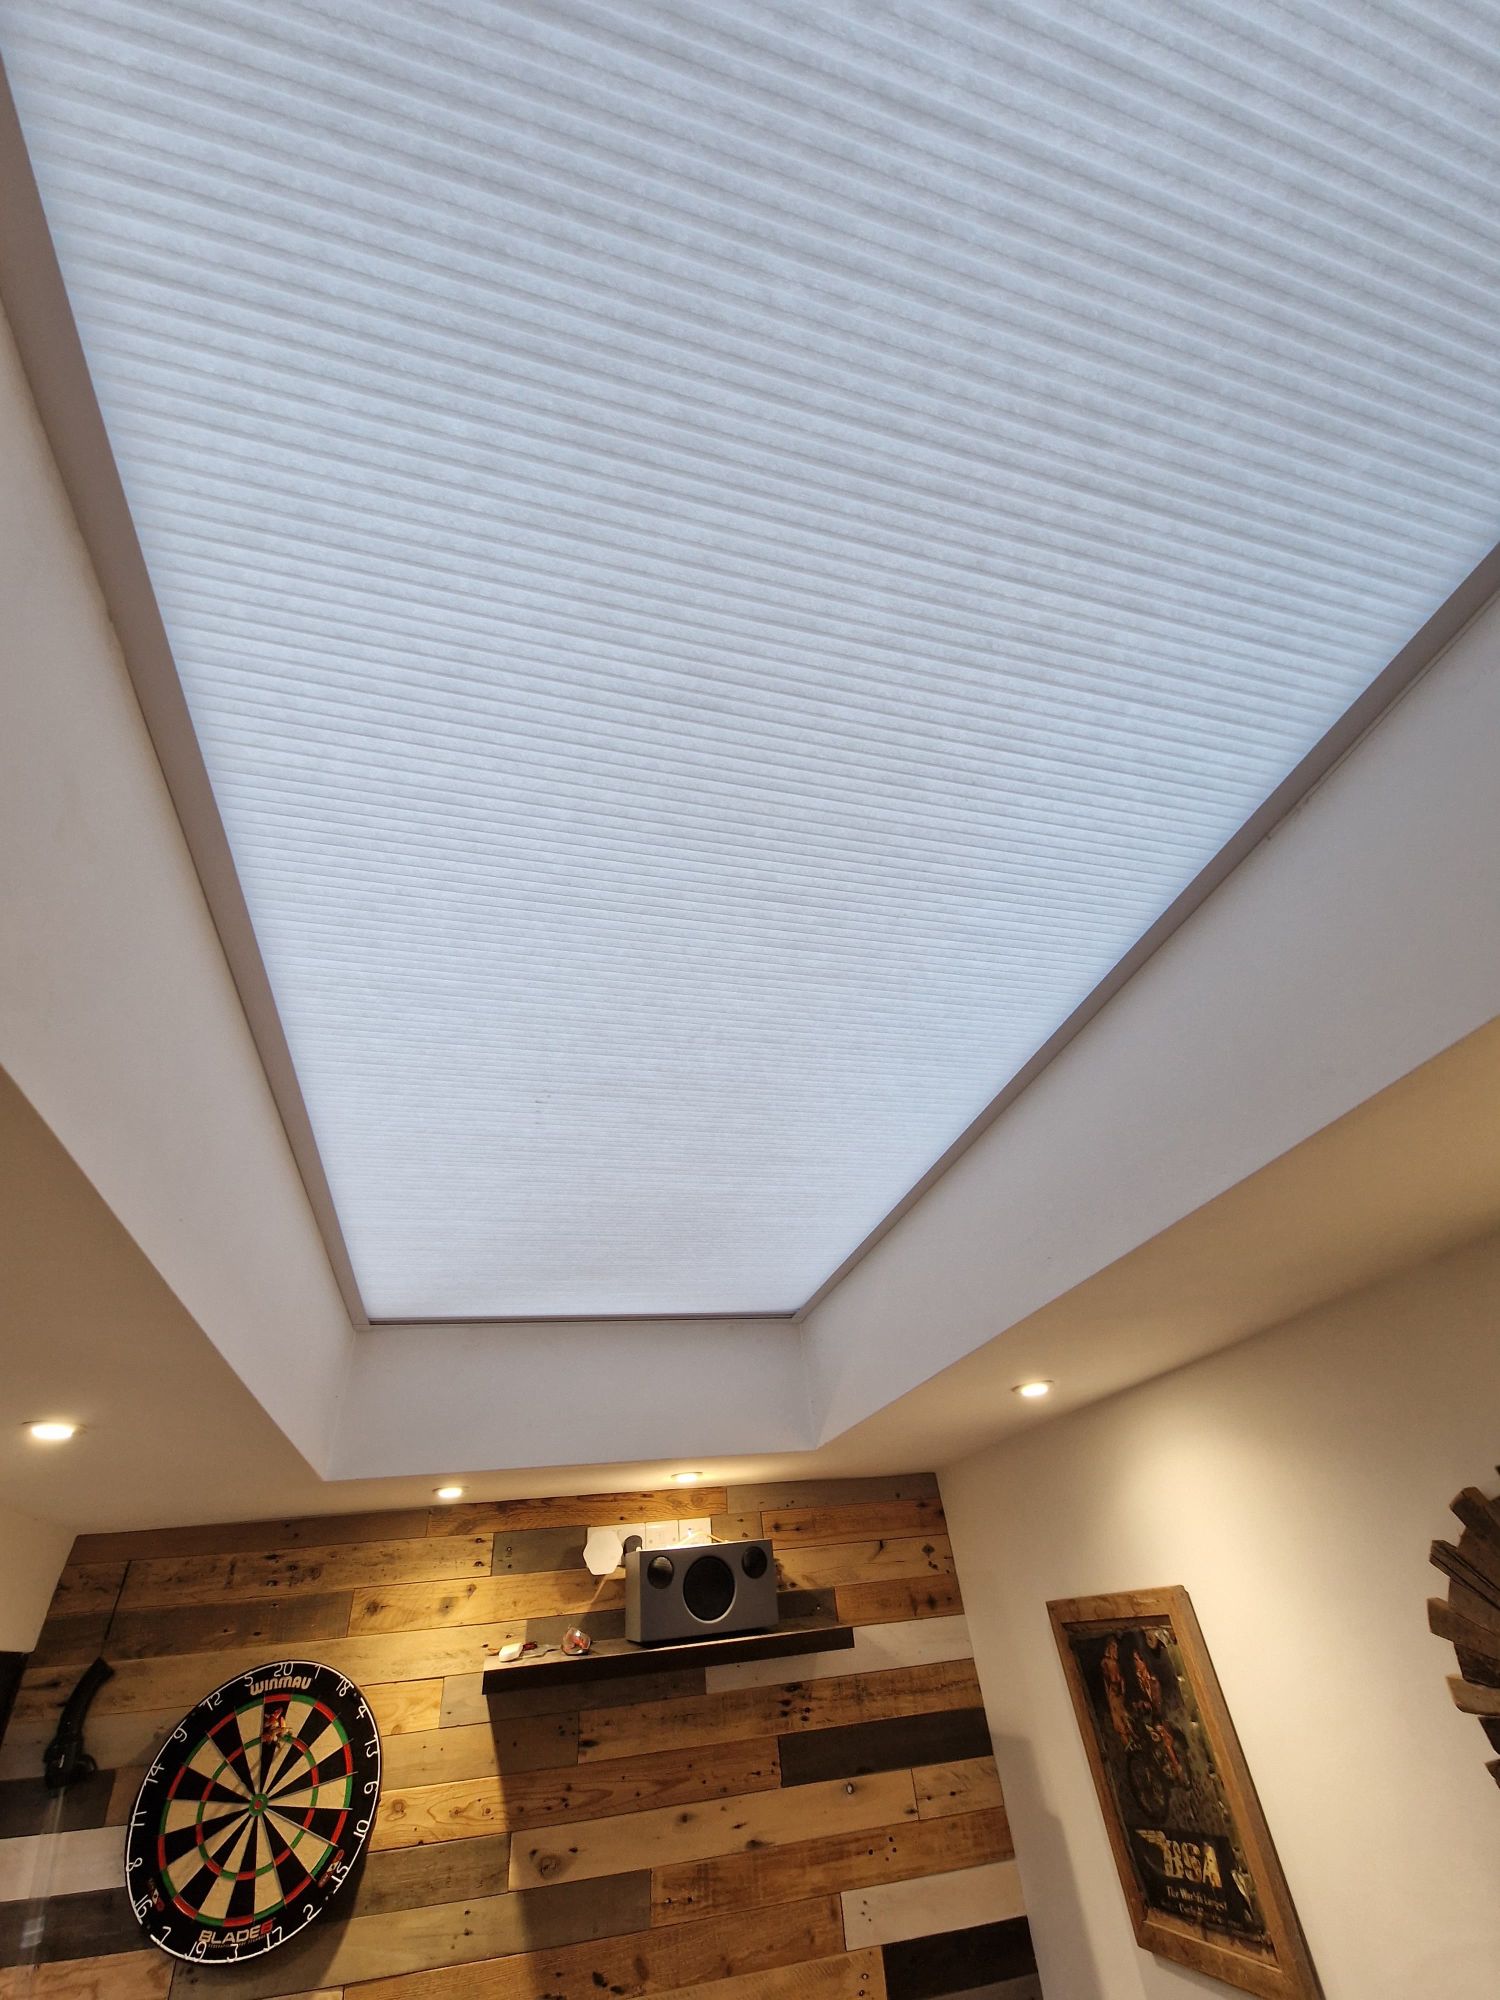
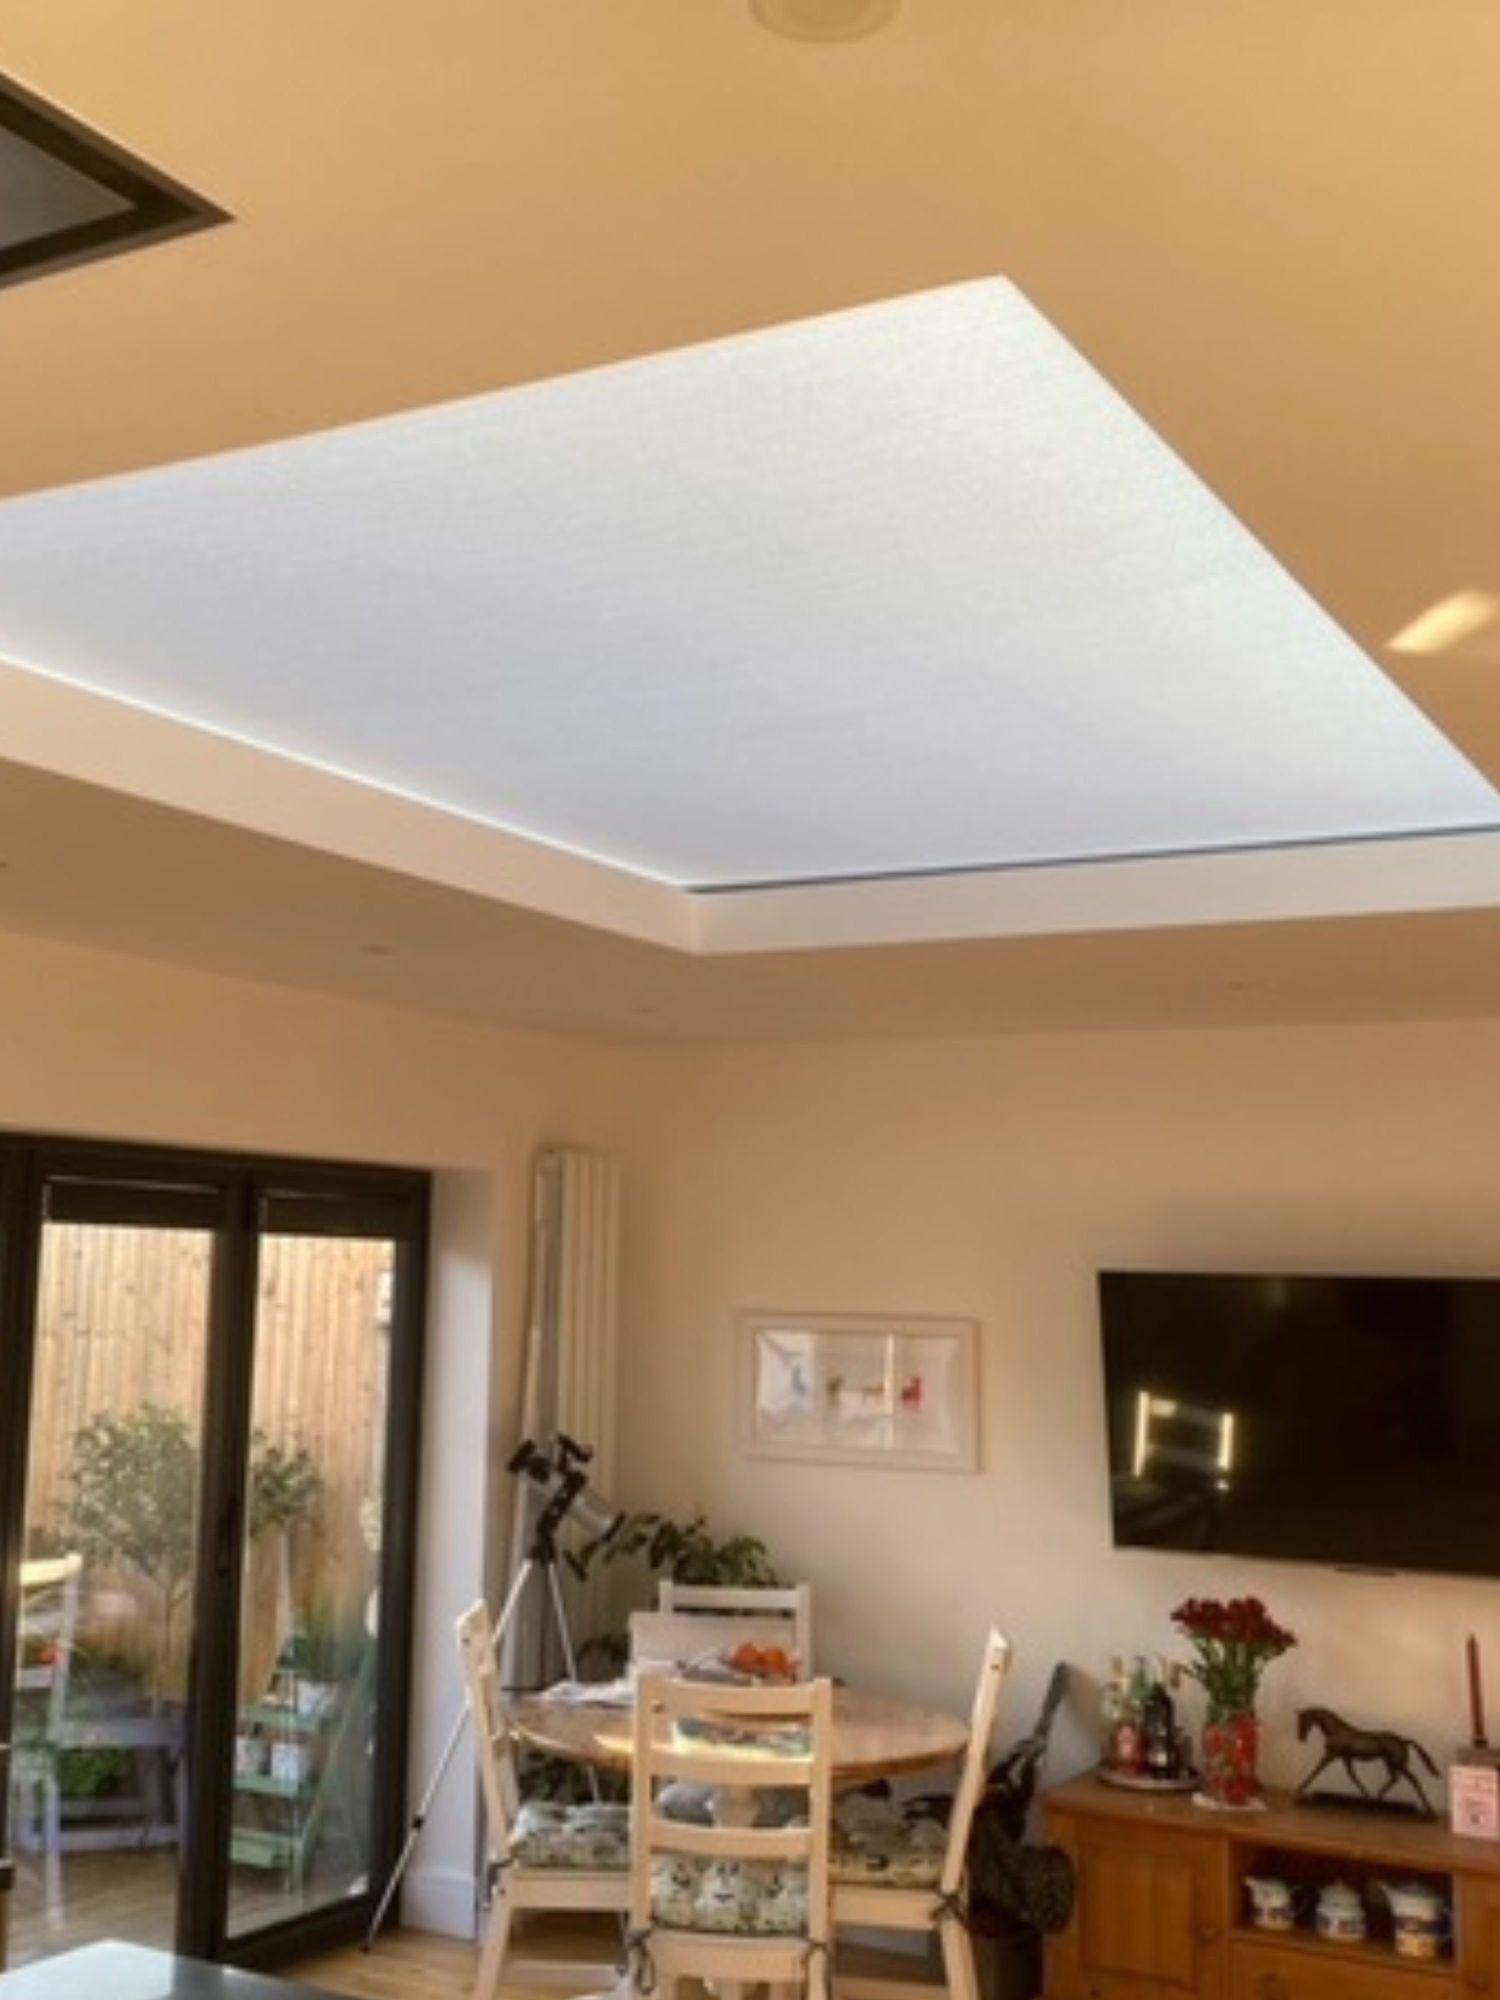
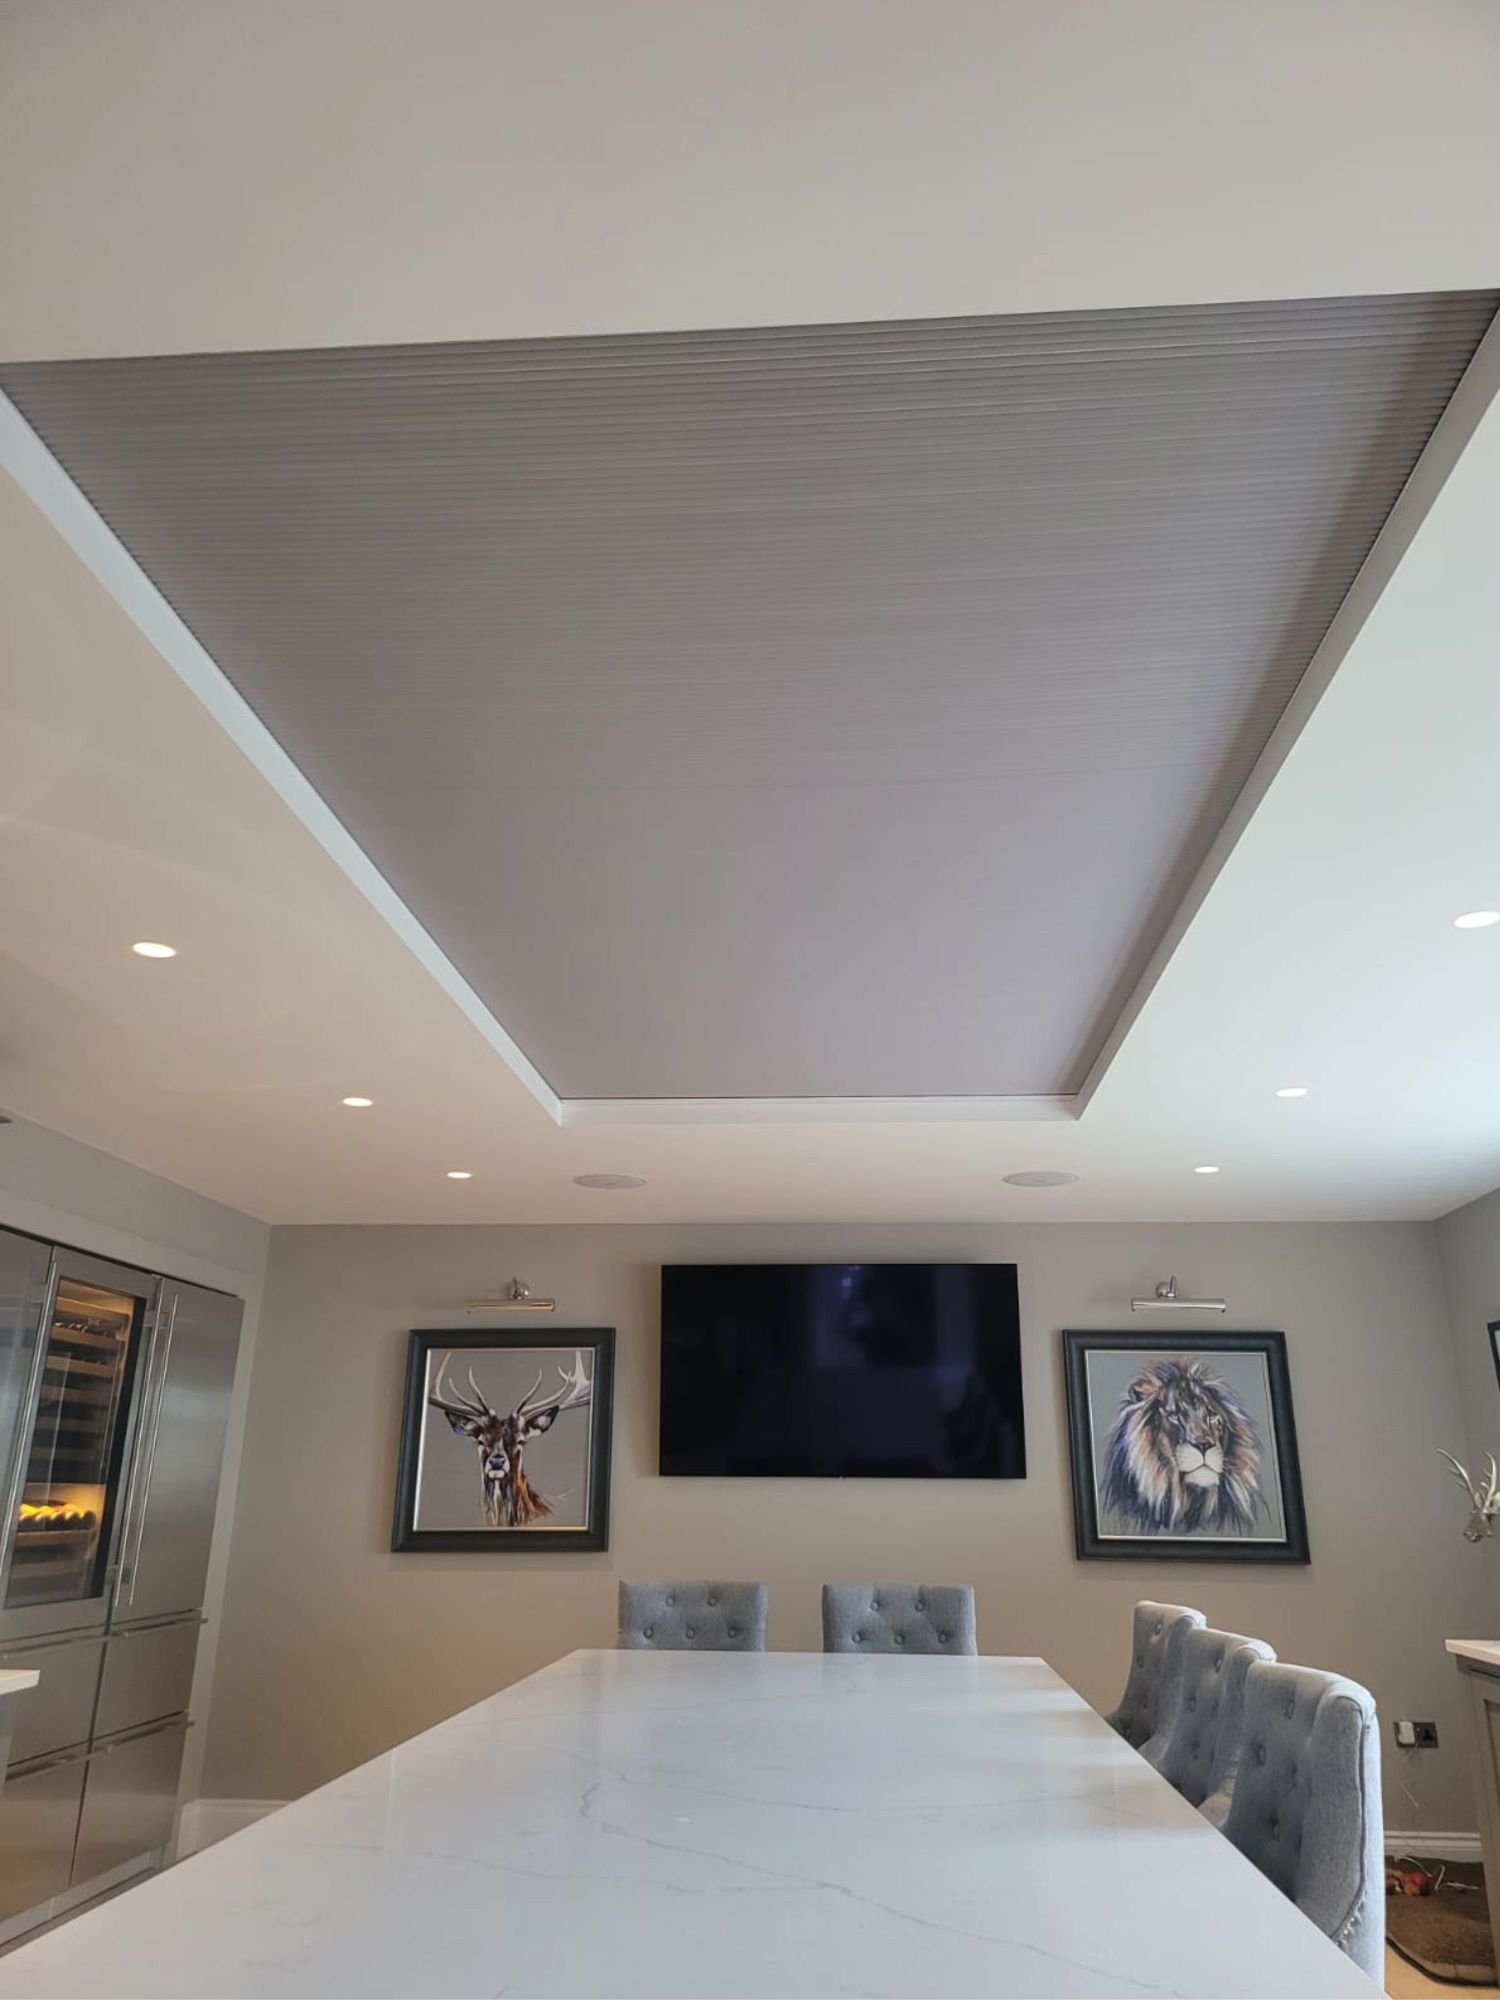
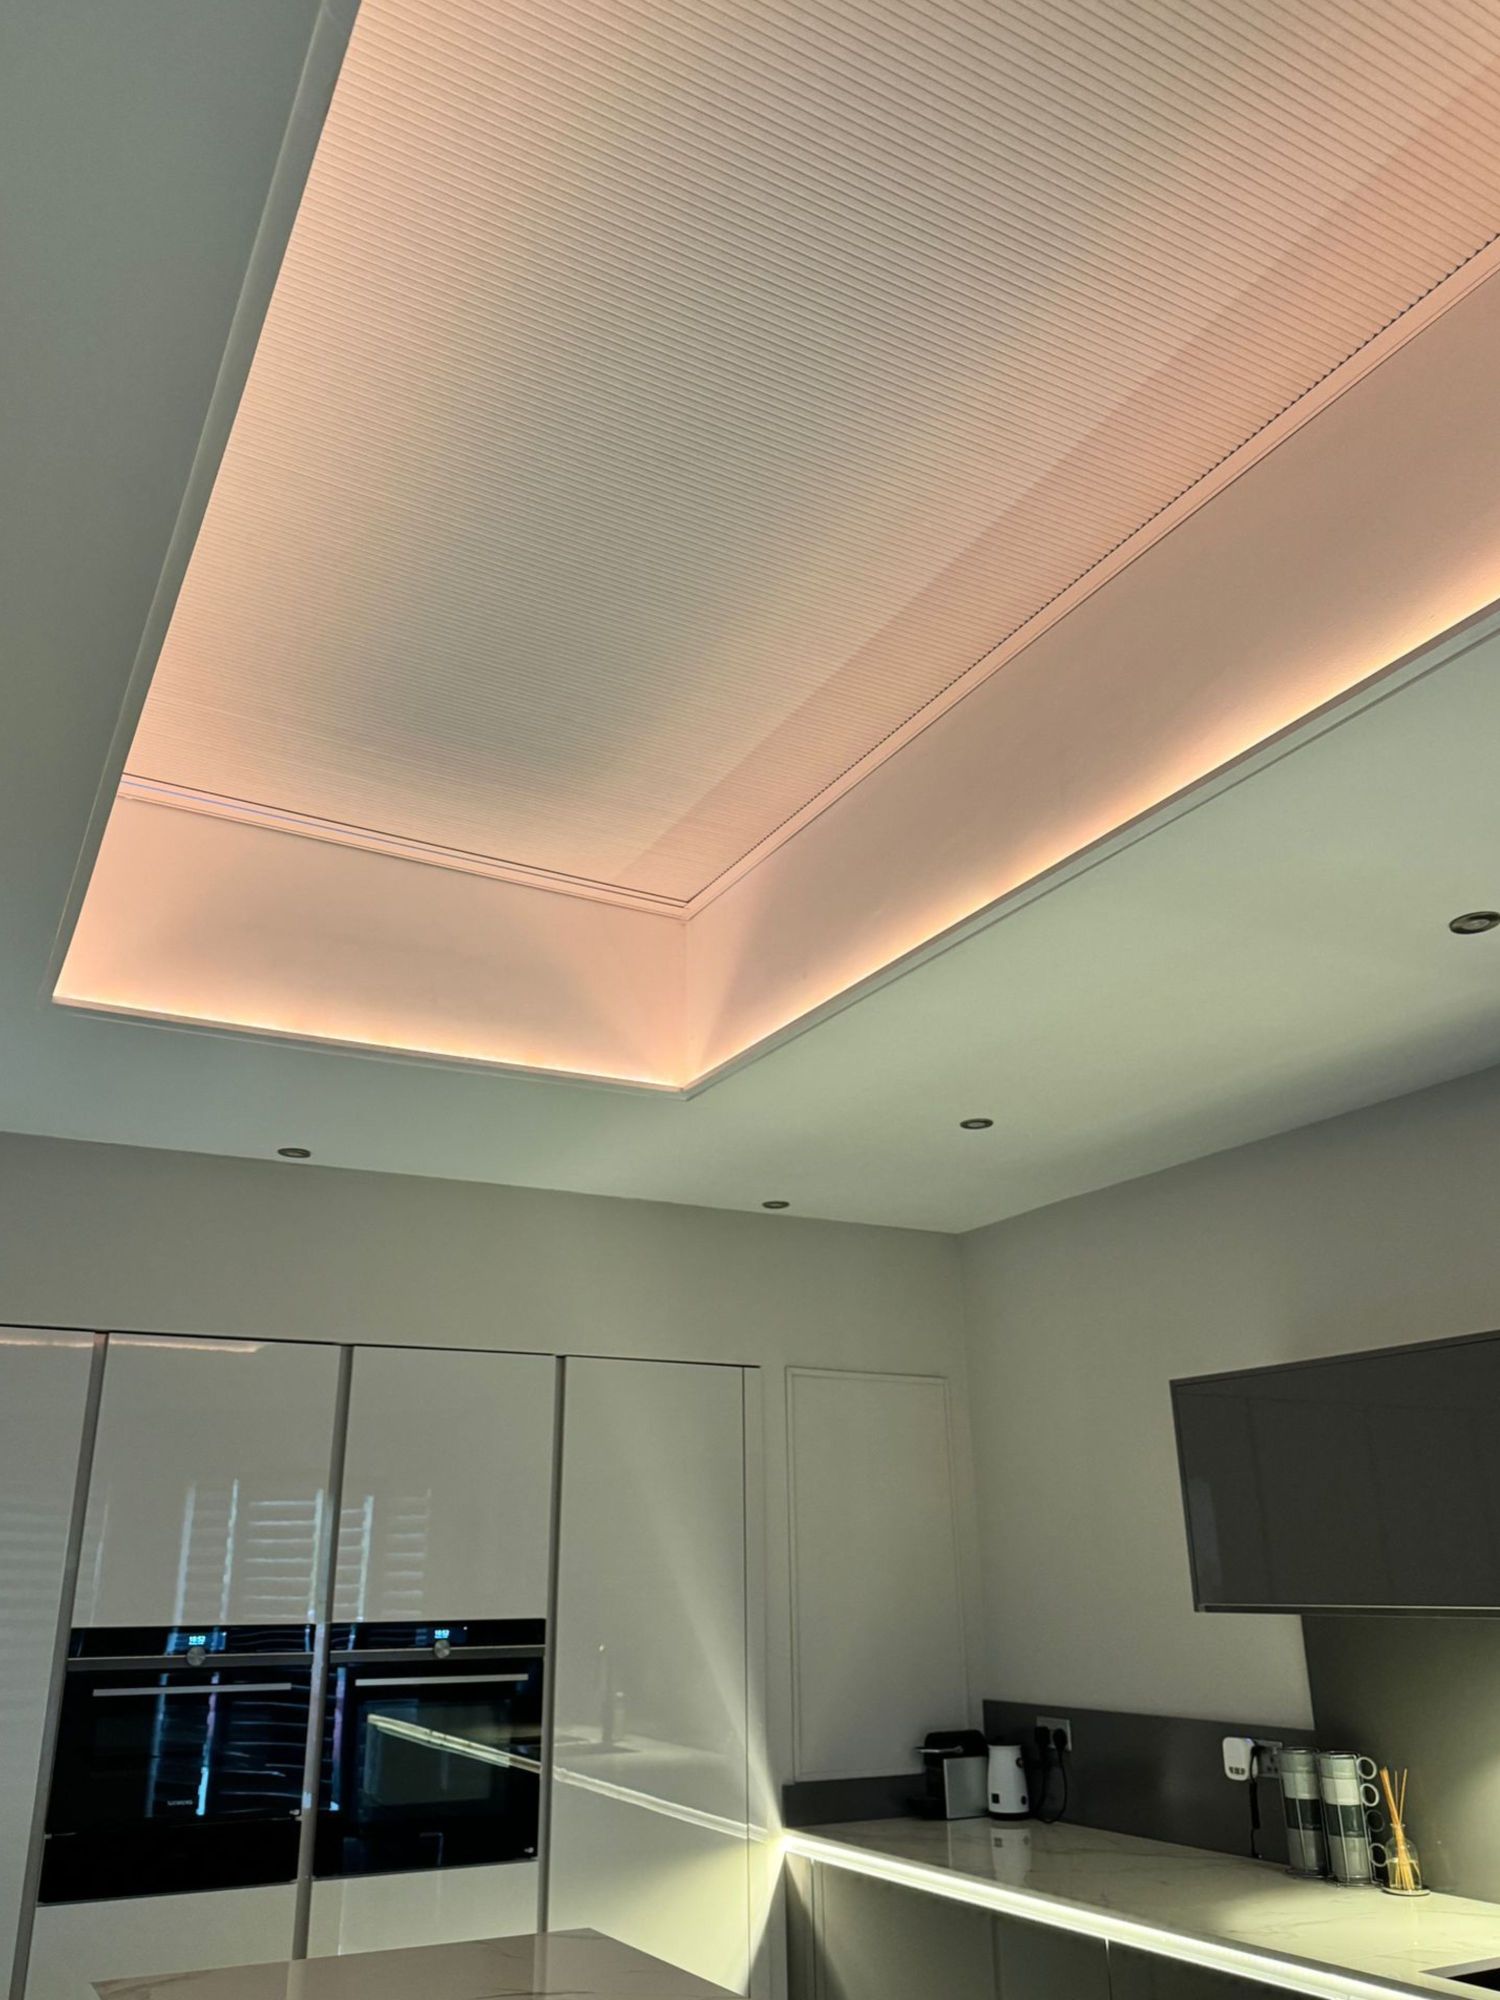
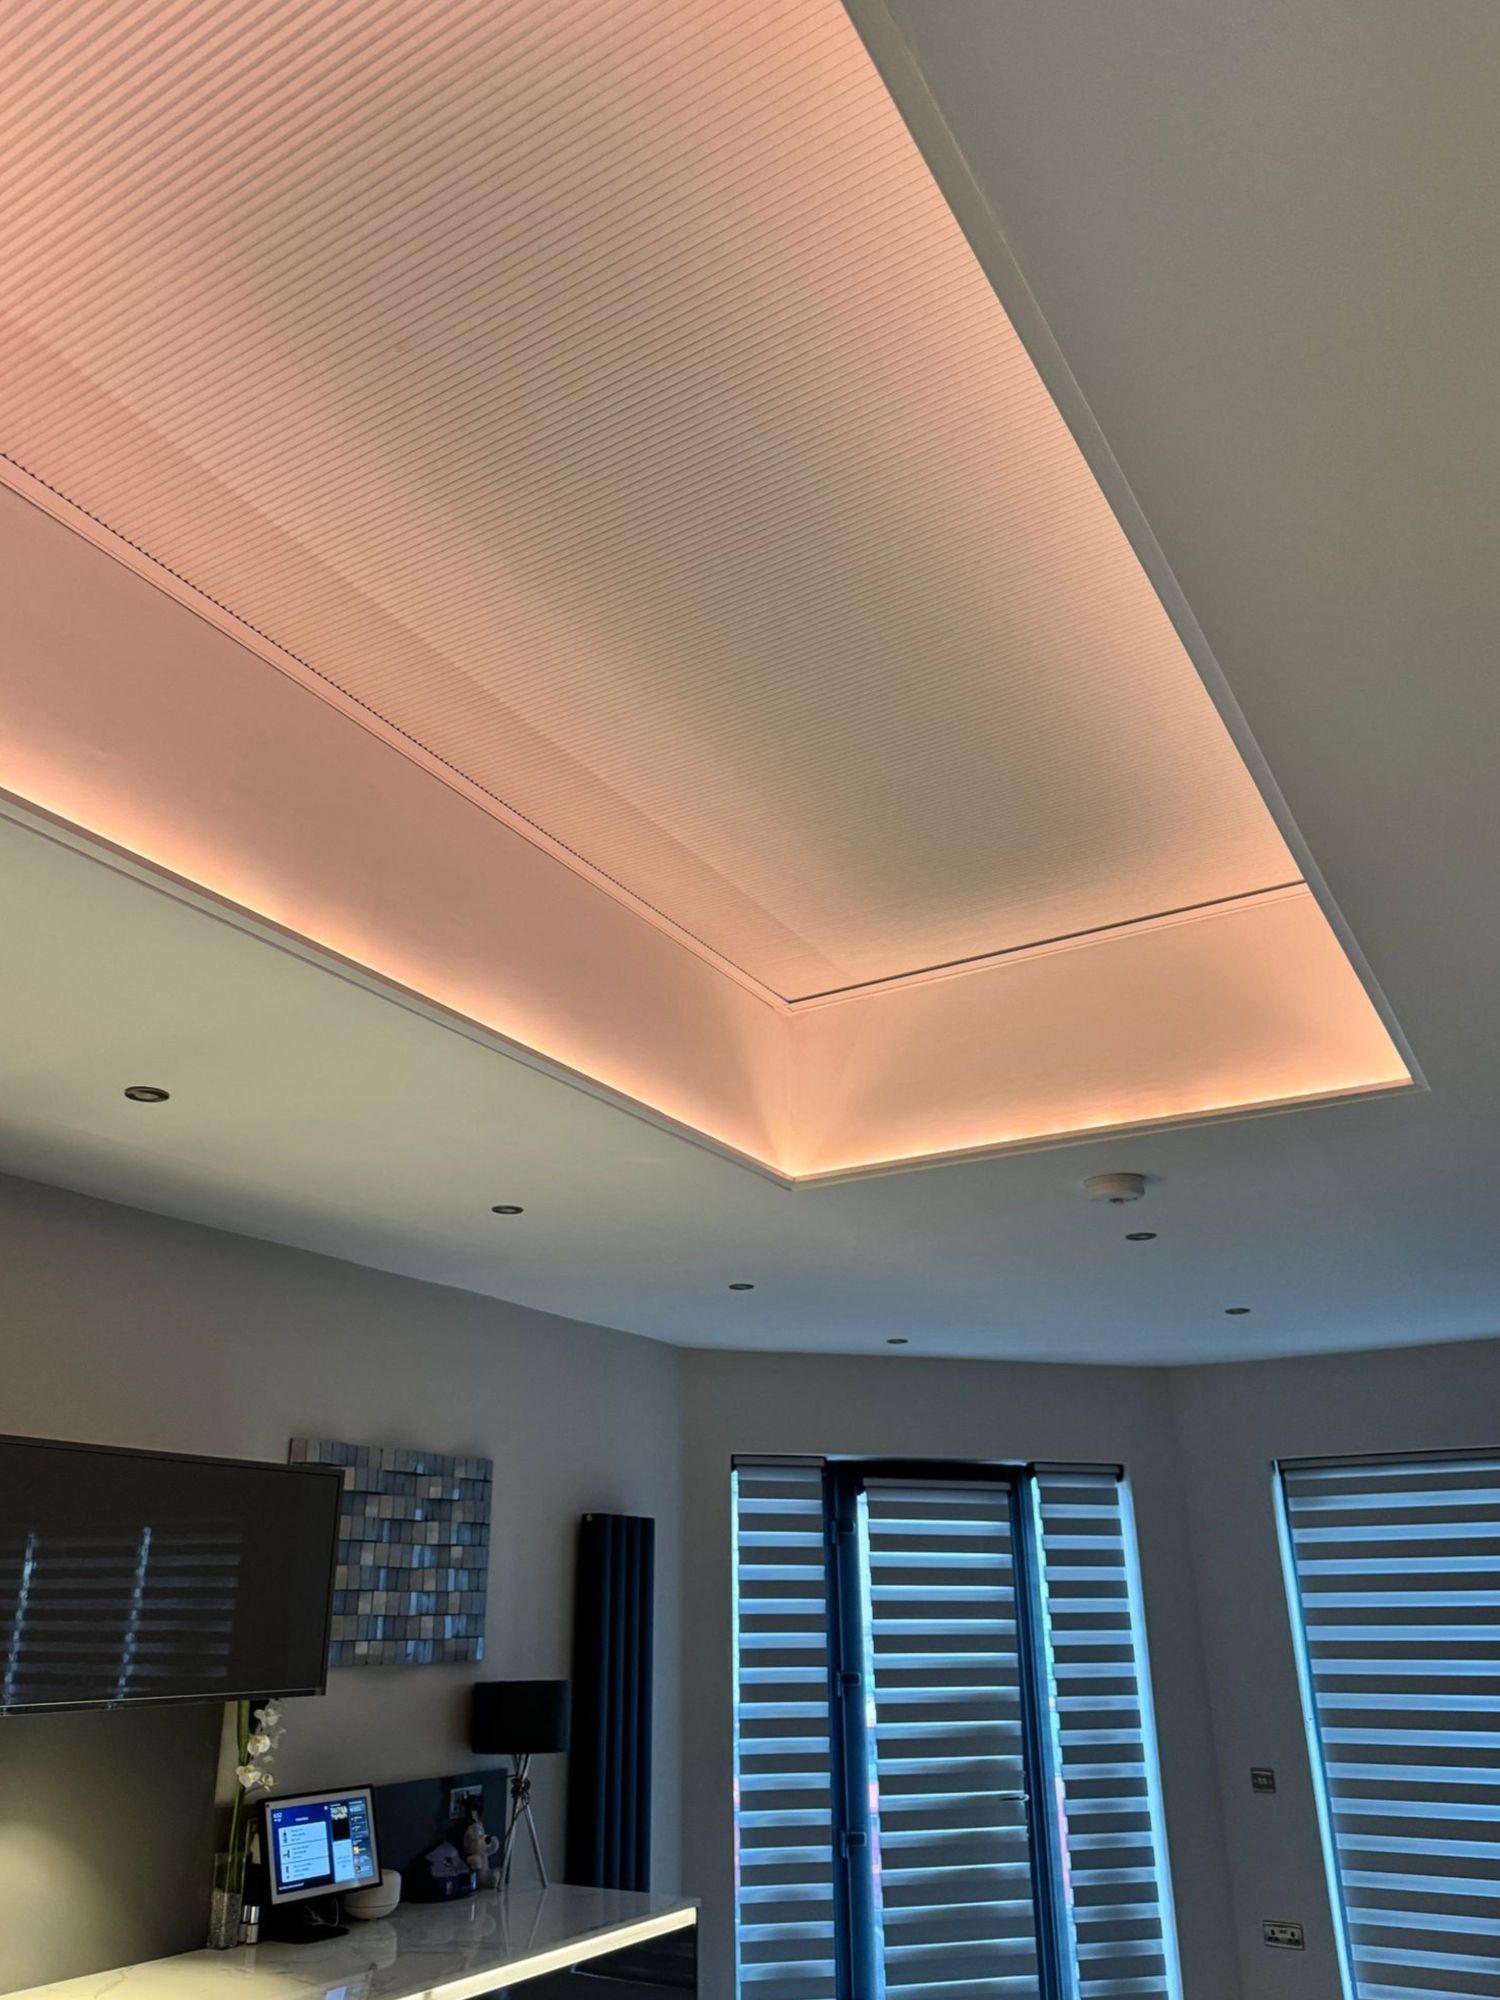
The sleek, visibly wire-free, modern solution for controlling light, glare, and temperature in your roof lanterns and skylights.
🔹 Product demos showcasing our anti-glare fabric in action
🔹 Step-by-step fitting guides for easy self-installation
🔹 Real-life customer projects and inspiration


📐 Size Range
- Minimum: 392mm wide x 300mm long
- Maximum: 3000mm wide x 5800mm long*
*Blackout option: max 2300mm wide x 4000mm long - Blinds over 7m² are made with our upgraded V2 system – see fitting guide for details
- Minimum installation depth required: 40mm
🧵 Guidewire System (only when needed)
- Up to 2.3m wide & under 4m long: No wires needed – full open view
- 2.3m wide and over: Features 2 discreet side wires (left & right) to prevent sagging
- 4m long and over: Also includes guidewires on both sides for added support
Our smart “bearings system” keeps larger blinds smooth, stable, and sag-free.
⚙️ Power Options
- Hardwired mains-powered (240v): with a 3 amp fuse (switched spur or plug socket)
- Battery/solar-powered: version available – perfect when mains wiring isn't an option
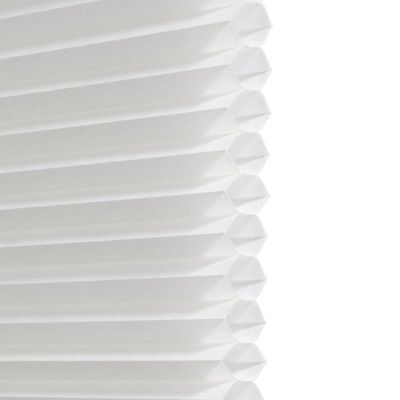
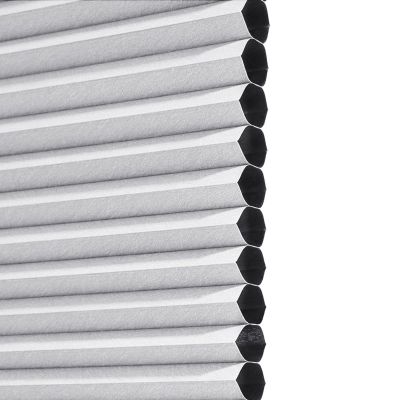
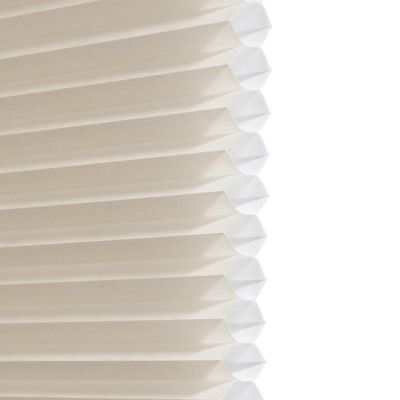
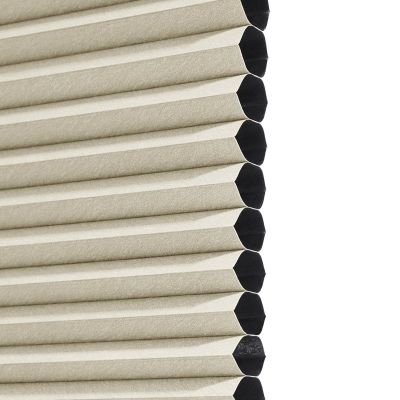
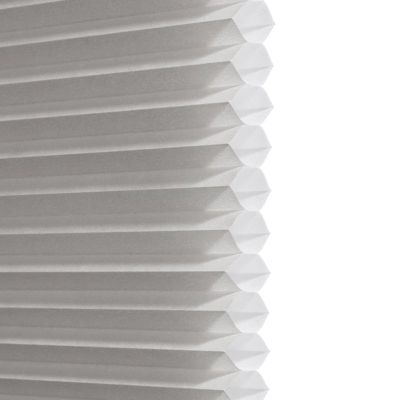
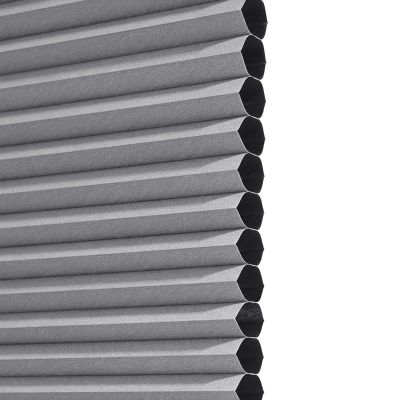
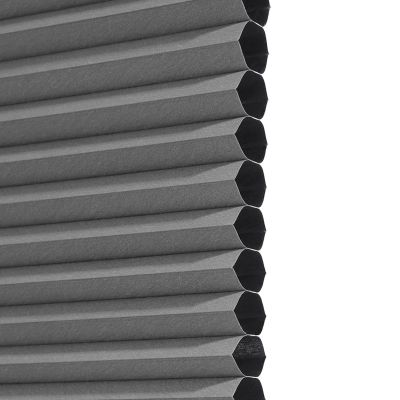
🌡️ Fabric Choices
Choose from a variety of thermal honeycomb fabrics, in either:
- Antiglare: ideal for reducing harsh sunlight without darkening the room
- Blackout: great for bedrooms, media rooms, or sunny spaces needing full coverage
🎨 Frame Colour Options
- White: classic and clean
- Anthracite: bold and modern
- Black: Timeless
- ✅ Easy to fit yourself – no specialist needed
- ✅ Ideal for roof lanterns, skylights & flat glass ceilings
Fabric Choices


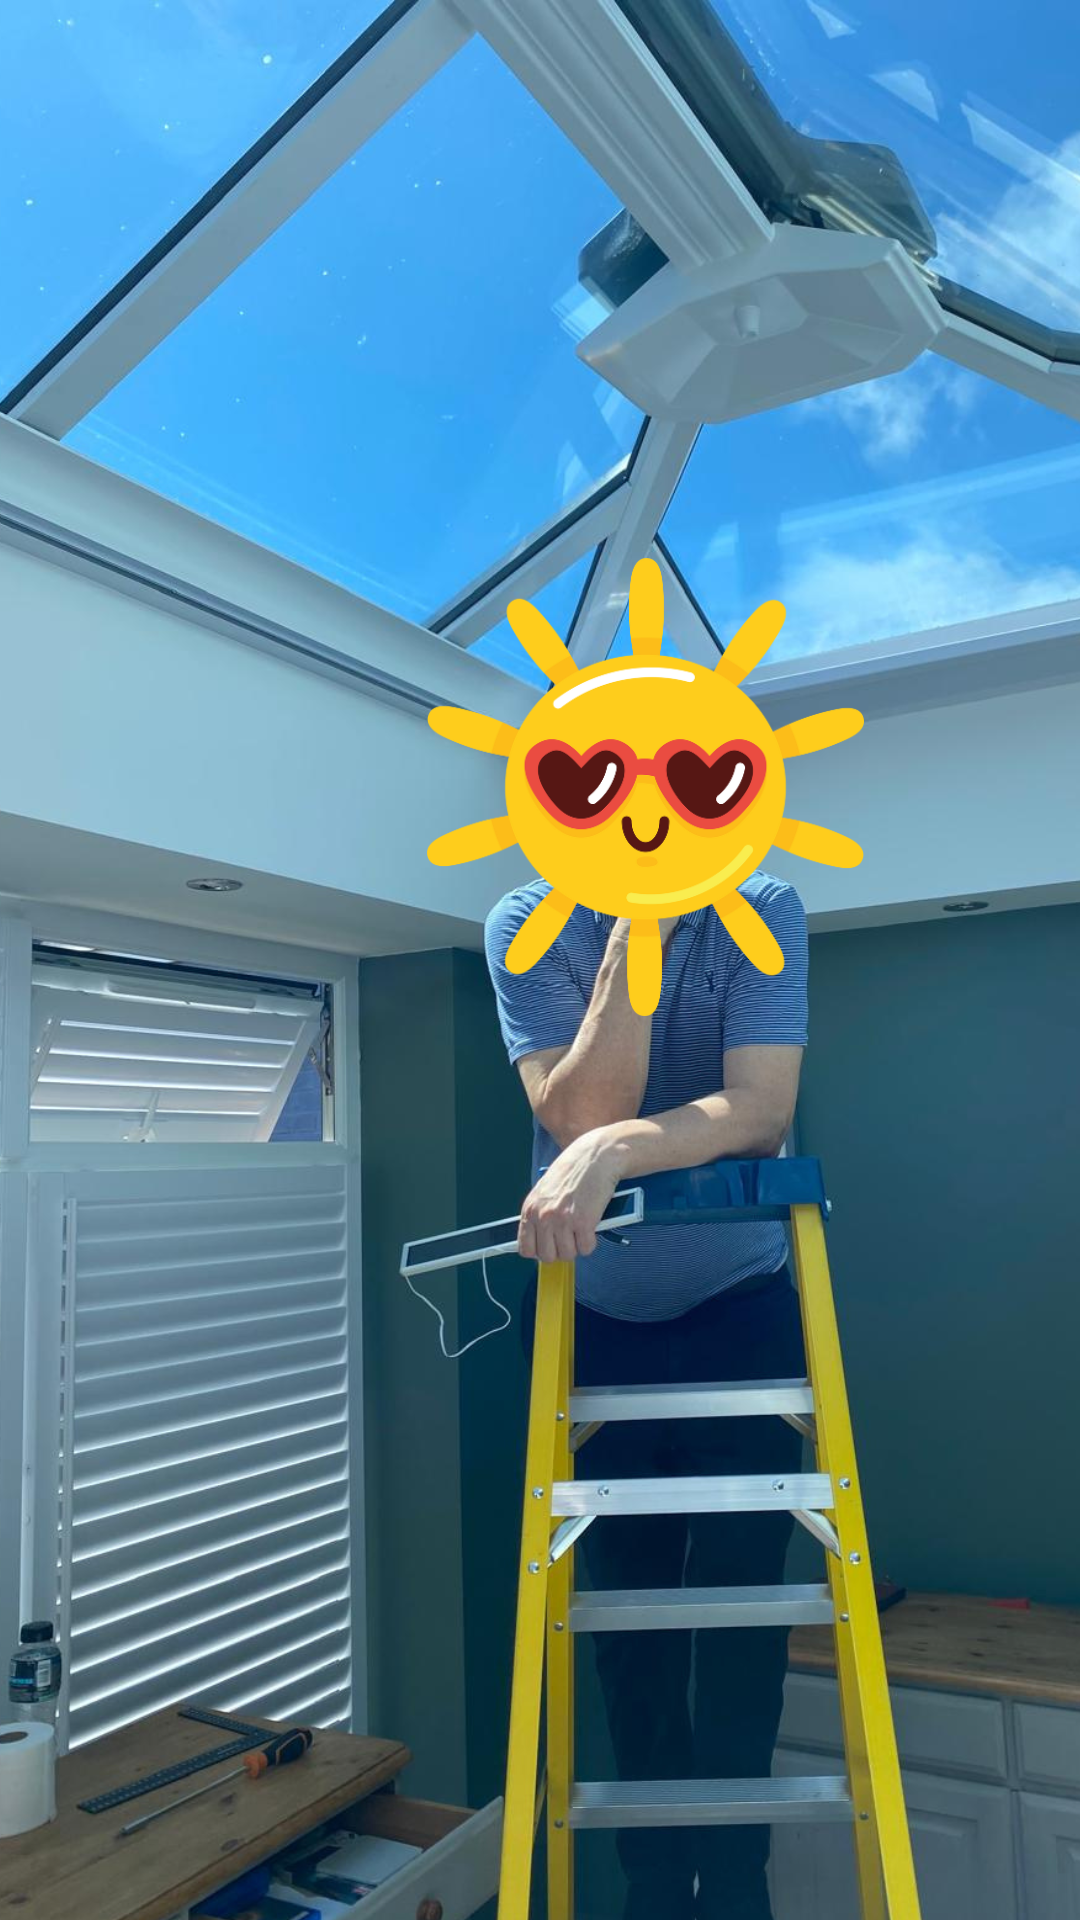
Customer Photos


Honeycomb Openview Electric Blinds FAQ's
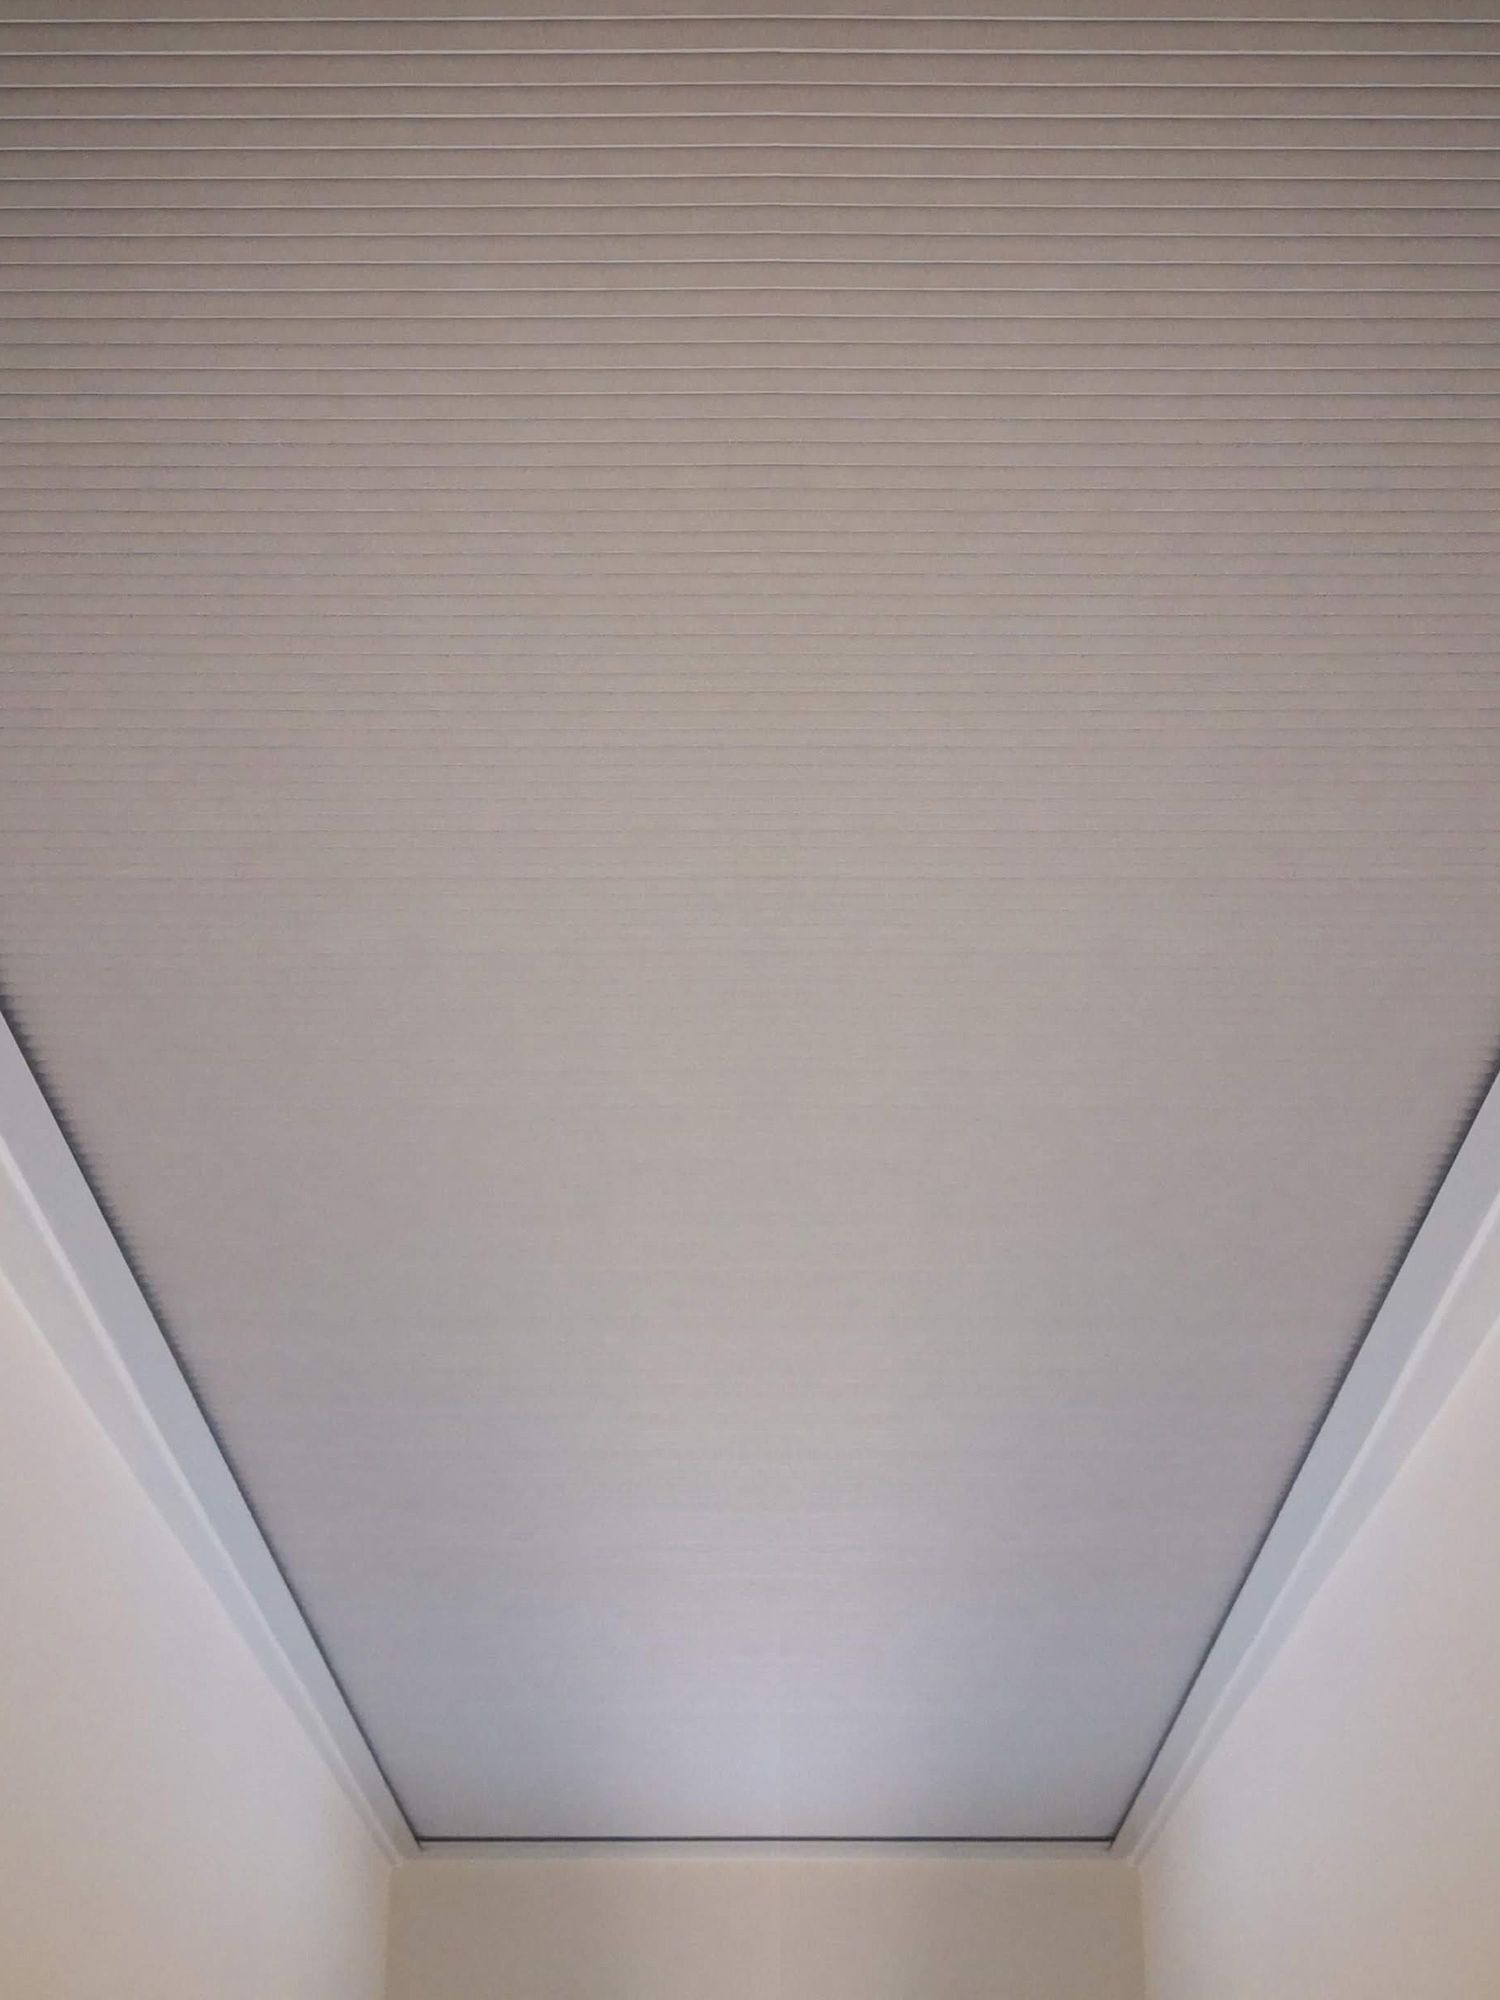
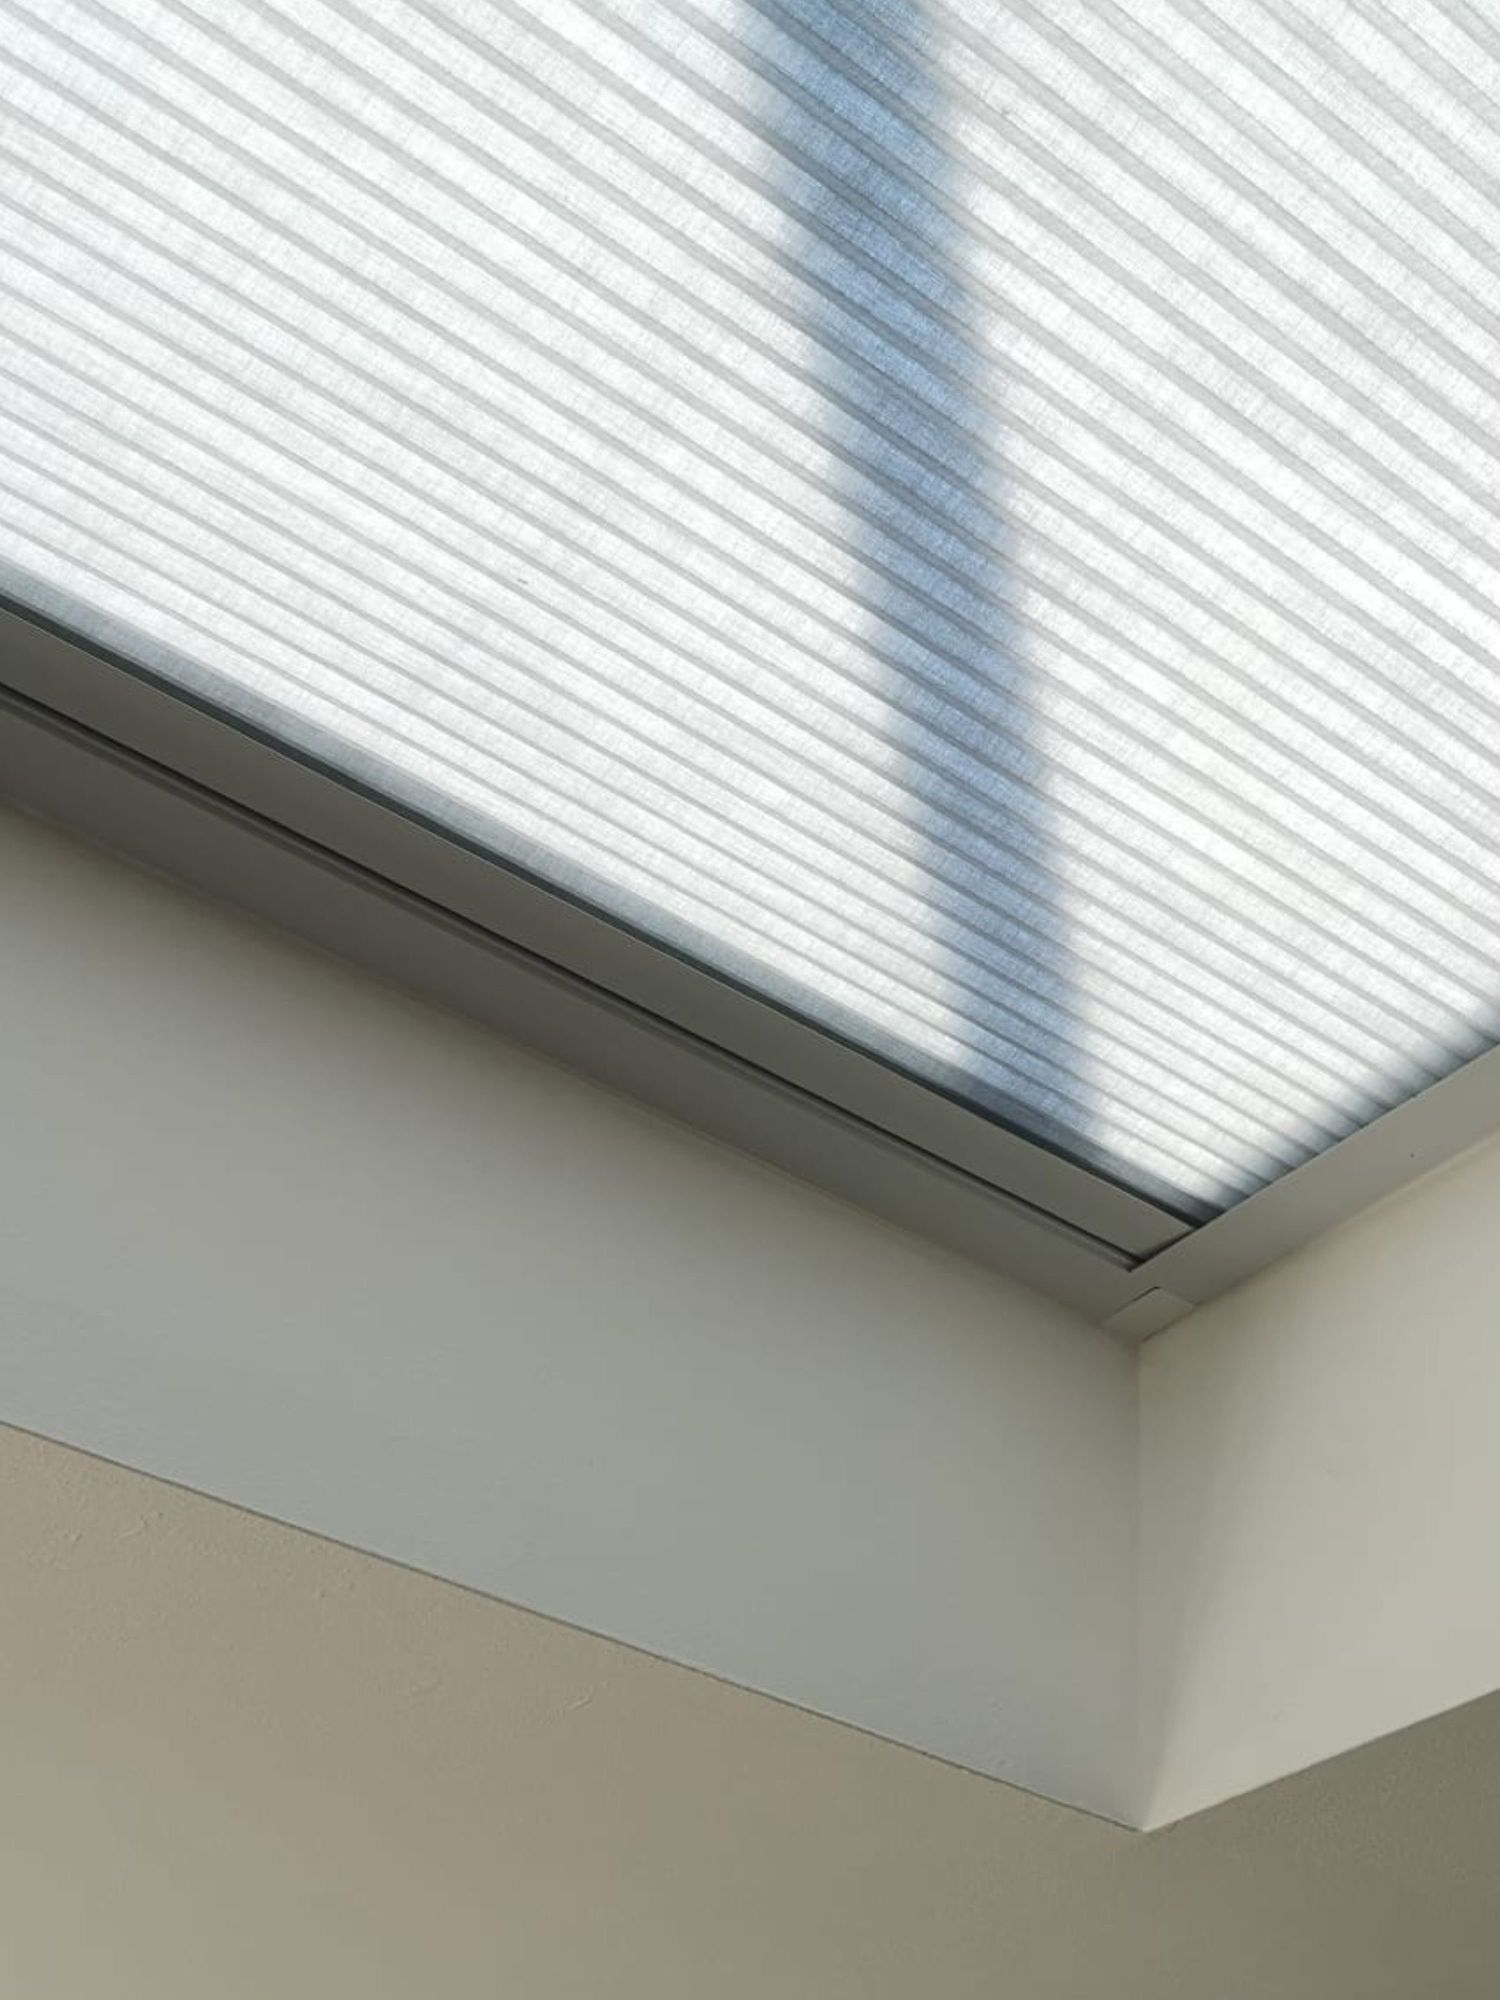
The Honeycomb OPENVIEW blind features a unique cellular fabric design that is framed for easy installation. This visually appealing blind operates smoothly along hidden guide wires, ensuring a wire-free appearance. Despite its lightweight construction, it excels in providing effective shading and heat regulation, making it an excellent choice for both large and small roof lanterns.
– No visible guide wires when retracted
– Runs with a strong belt system so there’s no friction on cords
– Almost blackout when used in a ceiling void
– Low cost compared to other roller blind systems
– Simple side fixing system
– Battery power with solar is also available
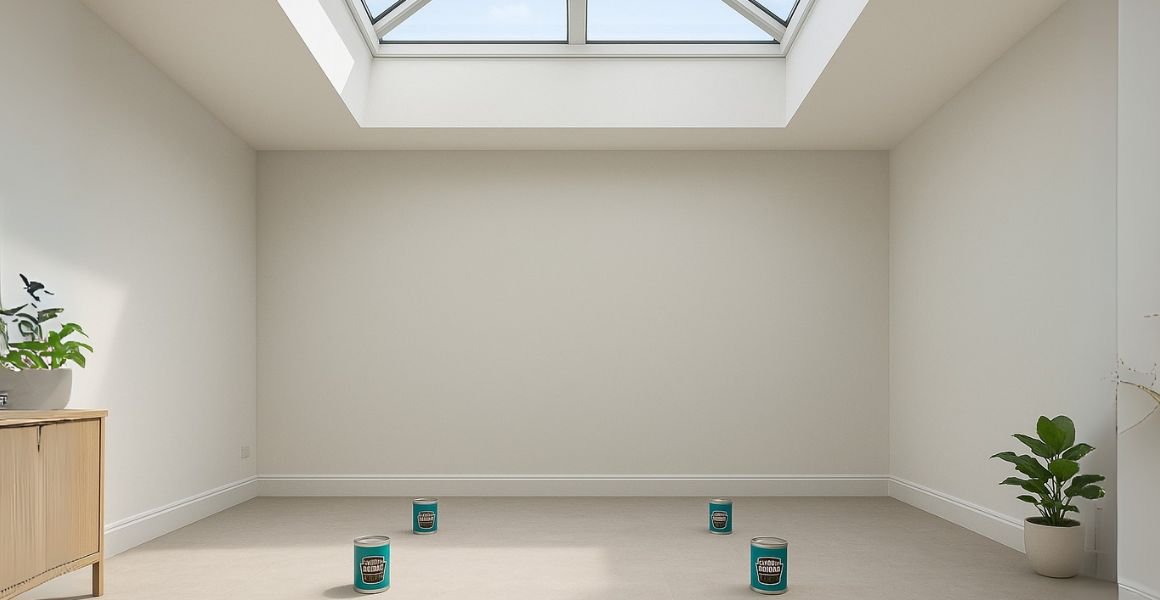
The Baked Bean Can Measuring Hack
In order for us to give you a quote, don’t laugh... all you need are four tins of beans! Map out the corners of the roof space on the floor with cans of beans, and then just measure between the cans so you can submit your sizes to get your quote. Many thanks Naomi 🥫 🥫 🥫 🥫 Then get a quick quote here
How to accurately measure for roof lantern blinds
Step 1: Choose Your Blind Position
Start by deciding exactly where you'd like the blind to sit inside the window recess. We usually recommend positioning it about three-quarters of the way back into the recess. It’s a good idea to leave around 15cm of space above the blind (between the top of the blind and the window glass) to make sure you can easily access the window when needed. But don't worry—this isn't a strict rule, just a helpful guideline!
Step 2: Mark the Spot
Grab a pencil and lightly mark the point inside the recess where the blind will be installed. This gives you a clear reference for your measuring points and ensures consistency.
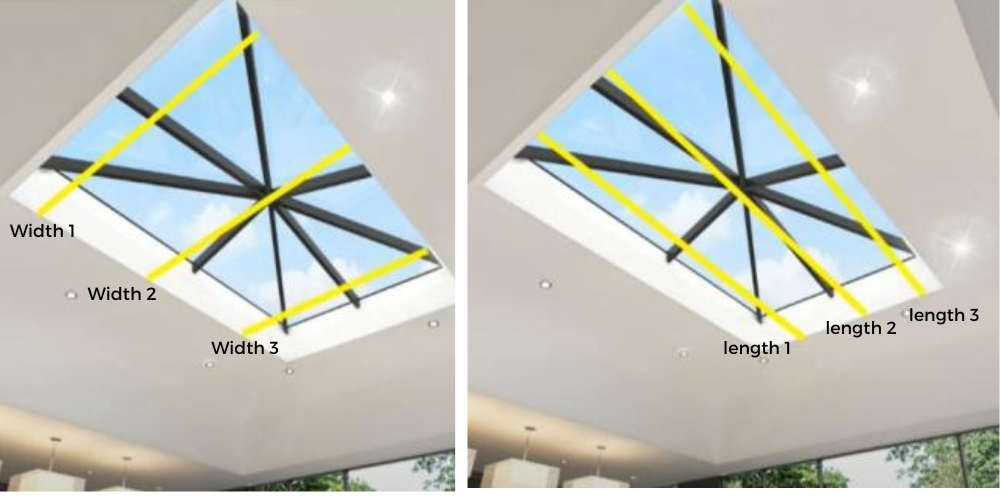
Step 3: Take Three Measurements
Using a steel tape measure, measure the width and drop (height) of your window in three separate places to account for any uneven areas (which are more common than you’d think!).
Always measure in millimetres (mm) and don’t make any deductions—we’ll do all that for you. These are known as Recess Size measurements.
-
Width: Measure across the recess at the top, middle and bottom.
-
Drop: Measure down the recess on the left, centre and right sides.
THEN you can place your order for your Honeycomb Openview Electric Blind
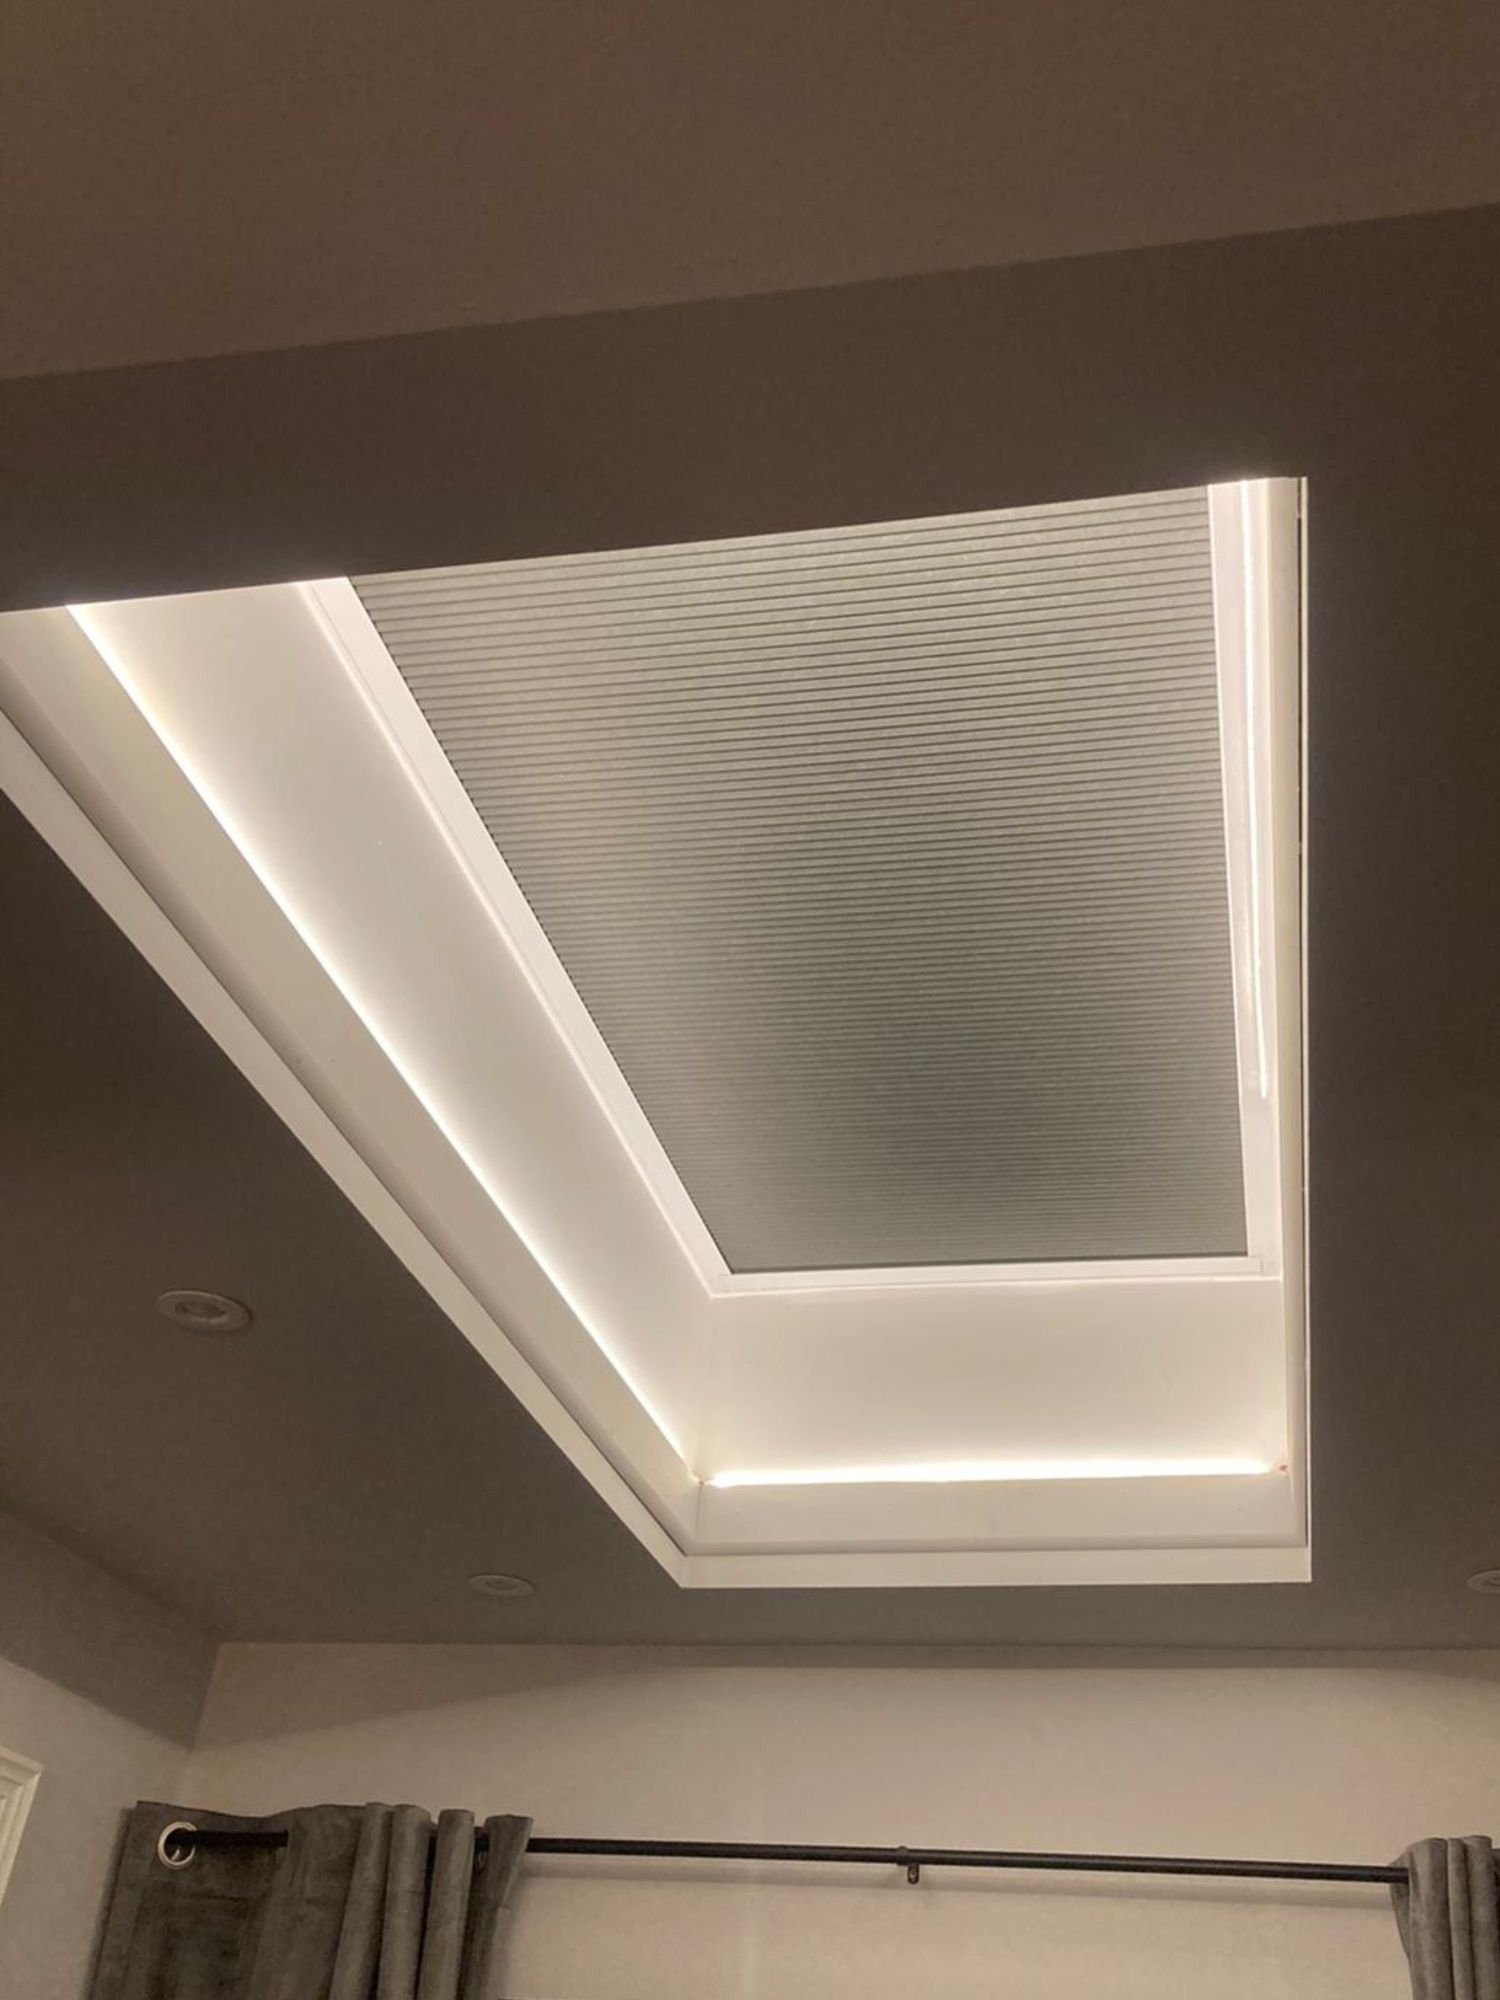
The Honeycomb Openview Electric Blind comes with pre-drilled pilot holes between 2 to 4 holes in each side channel. There are no fixings required for the top and bottom rails. Given that the blind doesn’t weigh much, and that it doesn’t require any tension between the rails, you’ll only need to make a secure ‘normal’ fixing to the sides of the recess. Ideally, you’ll caulk fill any gaps around the outside of the frame.
Our rule of thumb is if you can put up a shelf and assemble Ikea furniture, then you are fully qualified to fit our Honeycomb Openview Electric Blinds. You may find it more simple to order the Battery-solar powered version as it is means you don't need to get an electrician involved with the install.
See fitting instructions below
- Fitting Instructions For Blinds Up To 7m square
- Fitting Instructions For Blinds Over 7m square (we offer a fitting service on this sized blind- add fitting for £500
Zip electric roller blinds are great for roof lantern windows, however, unless the space to be filled is very large, they are bulky and extremely expensive with very expensive parts. Additionally, they are heavy and often require heavy tension/fixings on the side channels (to ensure the fabric is pulled flat).
Honeycomb OpenView electric blinds are made from more affordable components, they are much easier to fit and are our best seller.
Keep your blinds looking pristine and functioning flawlessly with these easy-to-follow cleaning tips tailored specifically for Honeycomb OpenView electric blinds.
Understanding Honeycomb Fabric
Honeycomb blinds feature a unique design with hollow cells that can occasionally collect dust or trap small debris. Fortunately, the Honeycomb OpenView Electric Blind sits securely within its frame, minimising this issue. Regular upkeep will ensure they maintain their sleek appearance and smooth operation.
Steps to Clean Your Blinds
Fabric Cleaning Tips
- Lower the blind to about three-quarters of the way down.
- Use a vacuum cleaner with a soft brush attachment to gently remove dust from the surface.
- At this position, you can easily access the pleats—shift the fabric slightly to clean between them.
Caring for the Aluminium Frame
- Wipe the aluminium sections of the blind using a glass cleaner and a soft cloth.
- The powder-coated frame is resistant to damage, so standard cleaning products are safe to use.
Cleaning the Side Tracks
- Use a vacuum cleaner to remove dirt or debris from the side tracks where the blind runs.
- Precision is not essential here—these blinds are designed to work well even if the tracks aren’t spotless.
Safe Cleaning Practices for Honeycomb Blinds
Avoid using the following products:
- Harsh solvents or thinners
- Abrasive cleaning pastes or sands
- Strong alkaline-based detergents
Opt for:
- A gentle solution of soap and water or a mild detergent mixed with water.
- Soft sponges or microfiber cloths (avoid rough or scratchy materials like steel wool).
When to Clean Your Electric Blinds
To maintain optimal performance and cleanliness:
- Give your blinds a thorough cleaning at least twice a year:
- After winter, to clear any dust that’s built up.
- After summer, especially if you’ve kept windows open frequently.
Routine Maintenance Checks
In addition to regular cleaning, inspect your electric blinds for these signs of wear or potential issues:
- Strange noises when the motor operates.
- Uneven movement, such as one side opening or closing faster than the other.
- Loose screws in the side tracks.
- Signs of wear on the cords, tracks, or other components.
With a little effort, your Honeycomb OpenView Electric Blinds will stay as stylish and efficient as the day they were installed. Regular cleaning not only enhances their appearance but also ensures smooth and reliable operation for years to come.
The Honeycomb Openview blind has a ‘belt track’ system in the side channels. The belts in each side channel are synchronised to ensure the floating bar runs straight every time.
We breakdown all blinds and fit them into a tube or carton. When you receive them, you’ll need to make a 20 min assembly on-site. You can also do it in the workshop if the blind isn’t too big. Make sure you watch the videos and read the instructions guides before attempting to make your first installation.
Yes,click here
The stacking height includes the frame of the blind and the fabric stack.
From 500 to 1100 the stack is within 87mm
| Drop | Stacking (mm) |
|---|---|
| 1400 | 93 |
| 1600 | 97 |
| 1800 | 102 |
| 2000 | 106 |
| 2200 | 110 |
| 2400 | 115 |
| 2600 | 119 |
| 2800 | 123 |
| 3000 | 128 |
| 3200 | 132 |
| 3400 | 137 |
| 3600 | 141 |
| 3800 | 146 |
| 4000 | 150 |
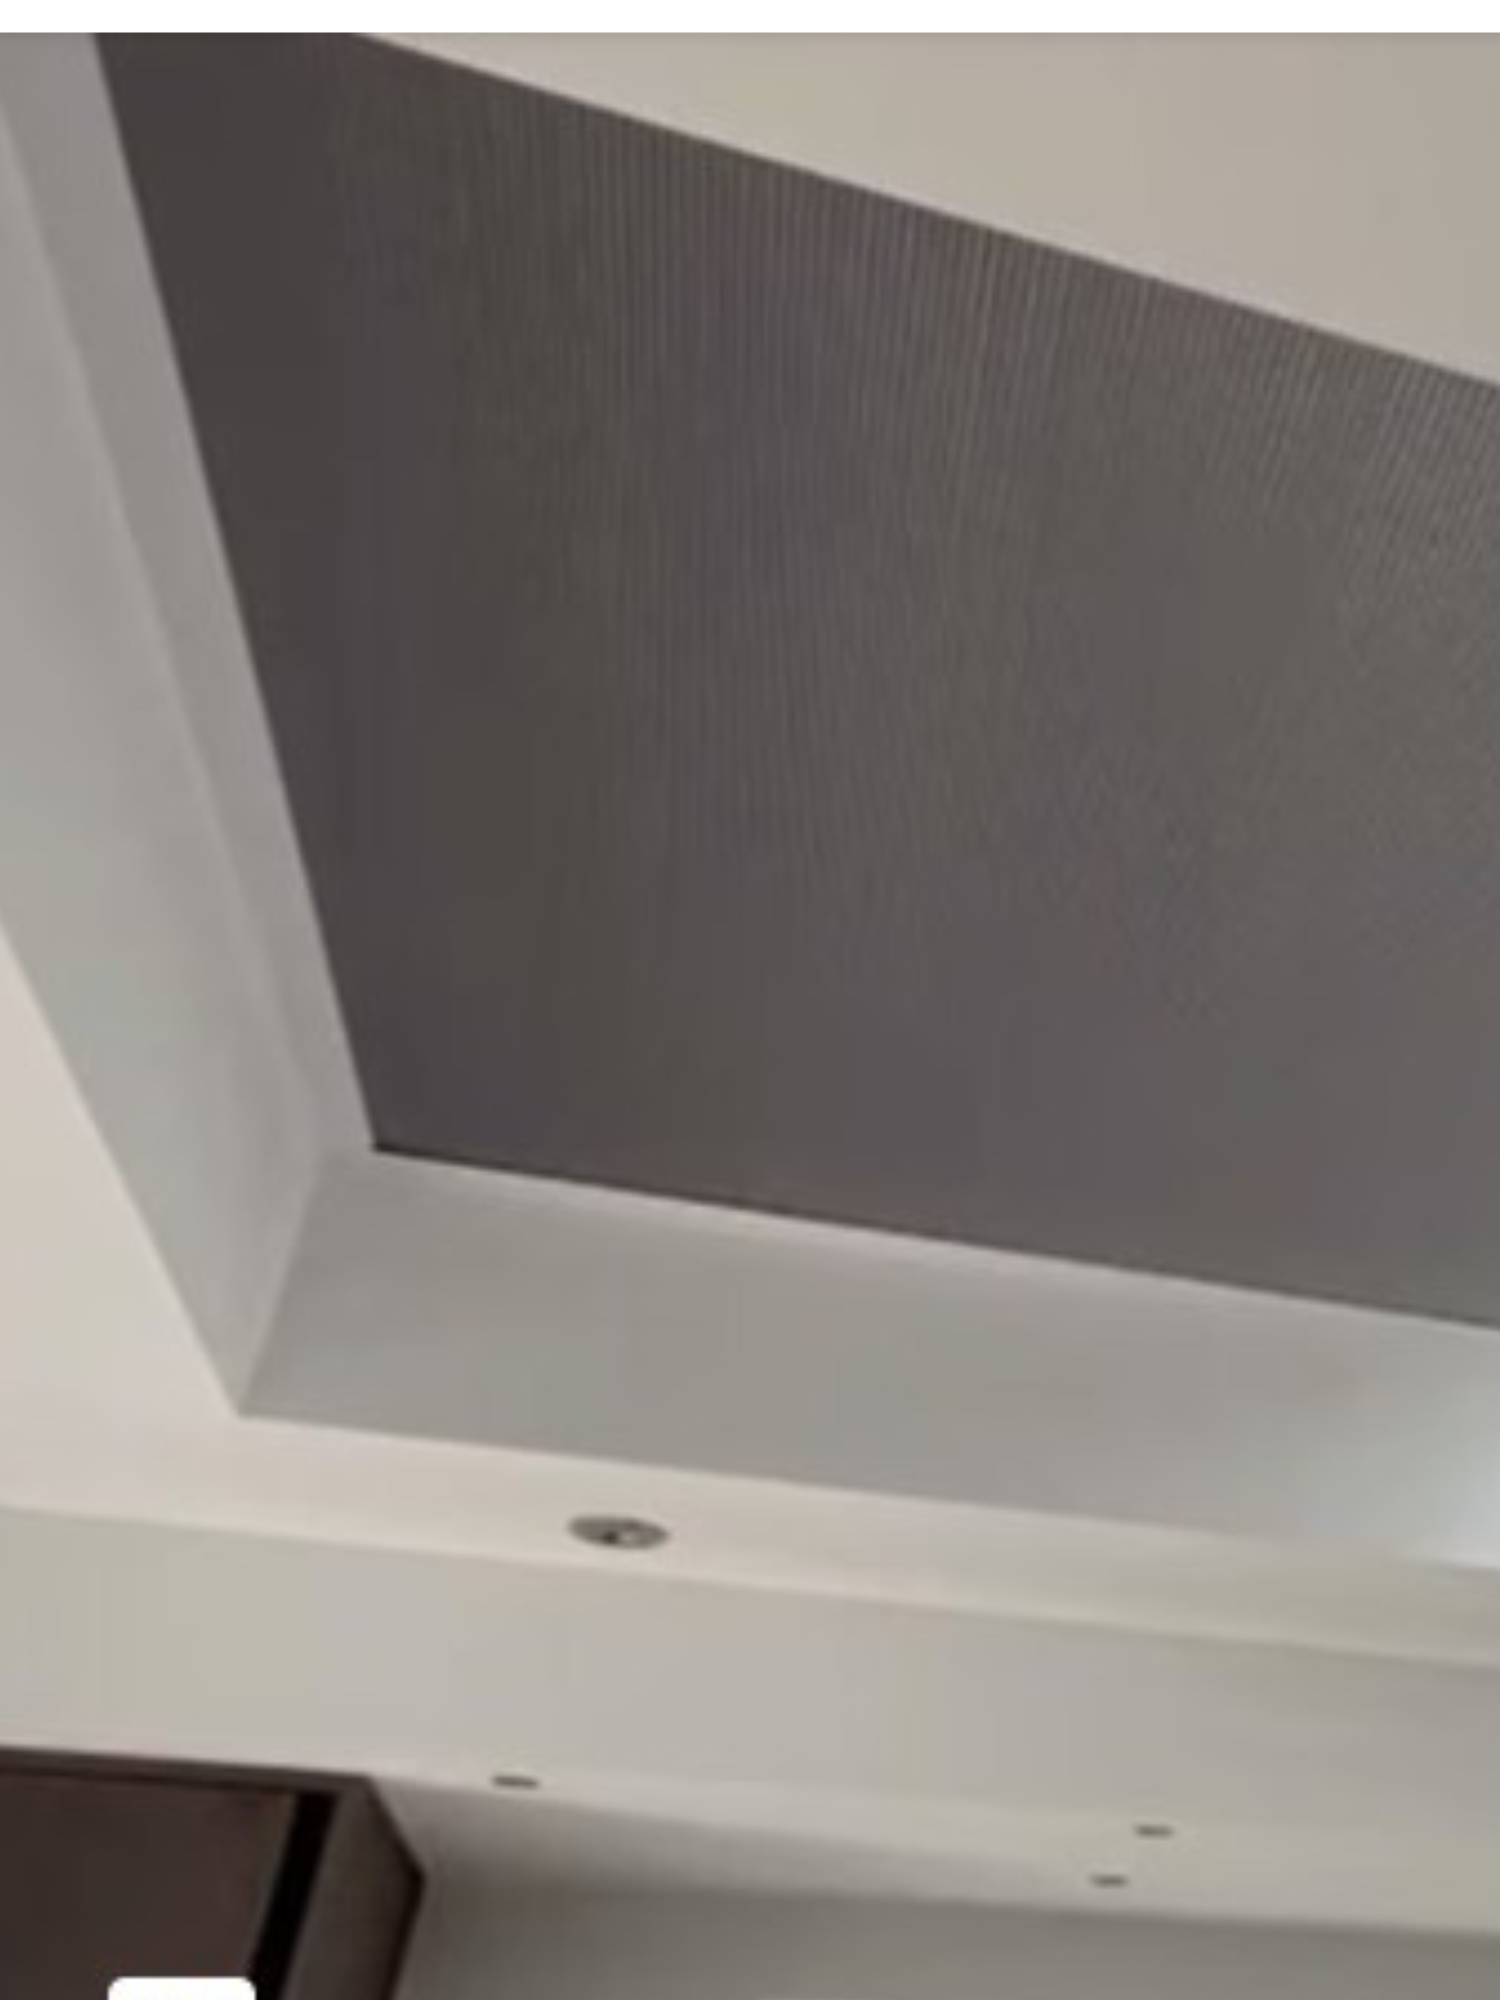
Blackout and anti-glare roof lantern blind fabrics serve different purposes, although both can help with heat reduction to some extent. Here are the key differences:
Blackout Fabric:- Blocks out almost 100% of light
- Provides complete privacy
- Offers superior thermal insulation
- Ideal for bedrooms or media rooms where darkness is desired
- Made of thicker, denser material that has a foil lining
- Filters and diffuses light rather than blocking it completely
- Reduces glare and eye strain
- Allows some natural light to enter the room
- Provides partial privacy
- Made of lighter, more translucent material
- Both fabrics can help keep heat out, but blackout fabrics are generally more effective due to their denser composition.
- Blackout fabrics typically have a higher thermal insulation value, which helps maintain a cooler interior temperature in summer and warmer in winter.
- Anti-glare fabrics, while less effective than a blackout, still offer some heat reduction by filtering out a portion of the sun's rays.
- The effectiveness of heat reduction also depends on the specific fabric composition and any additional thermal coatings applied.
- For maximum heat reduction, look for fabrics specifically designed with thermal properties, regardless of whether they are blackout or anti-glare.
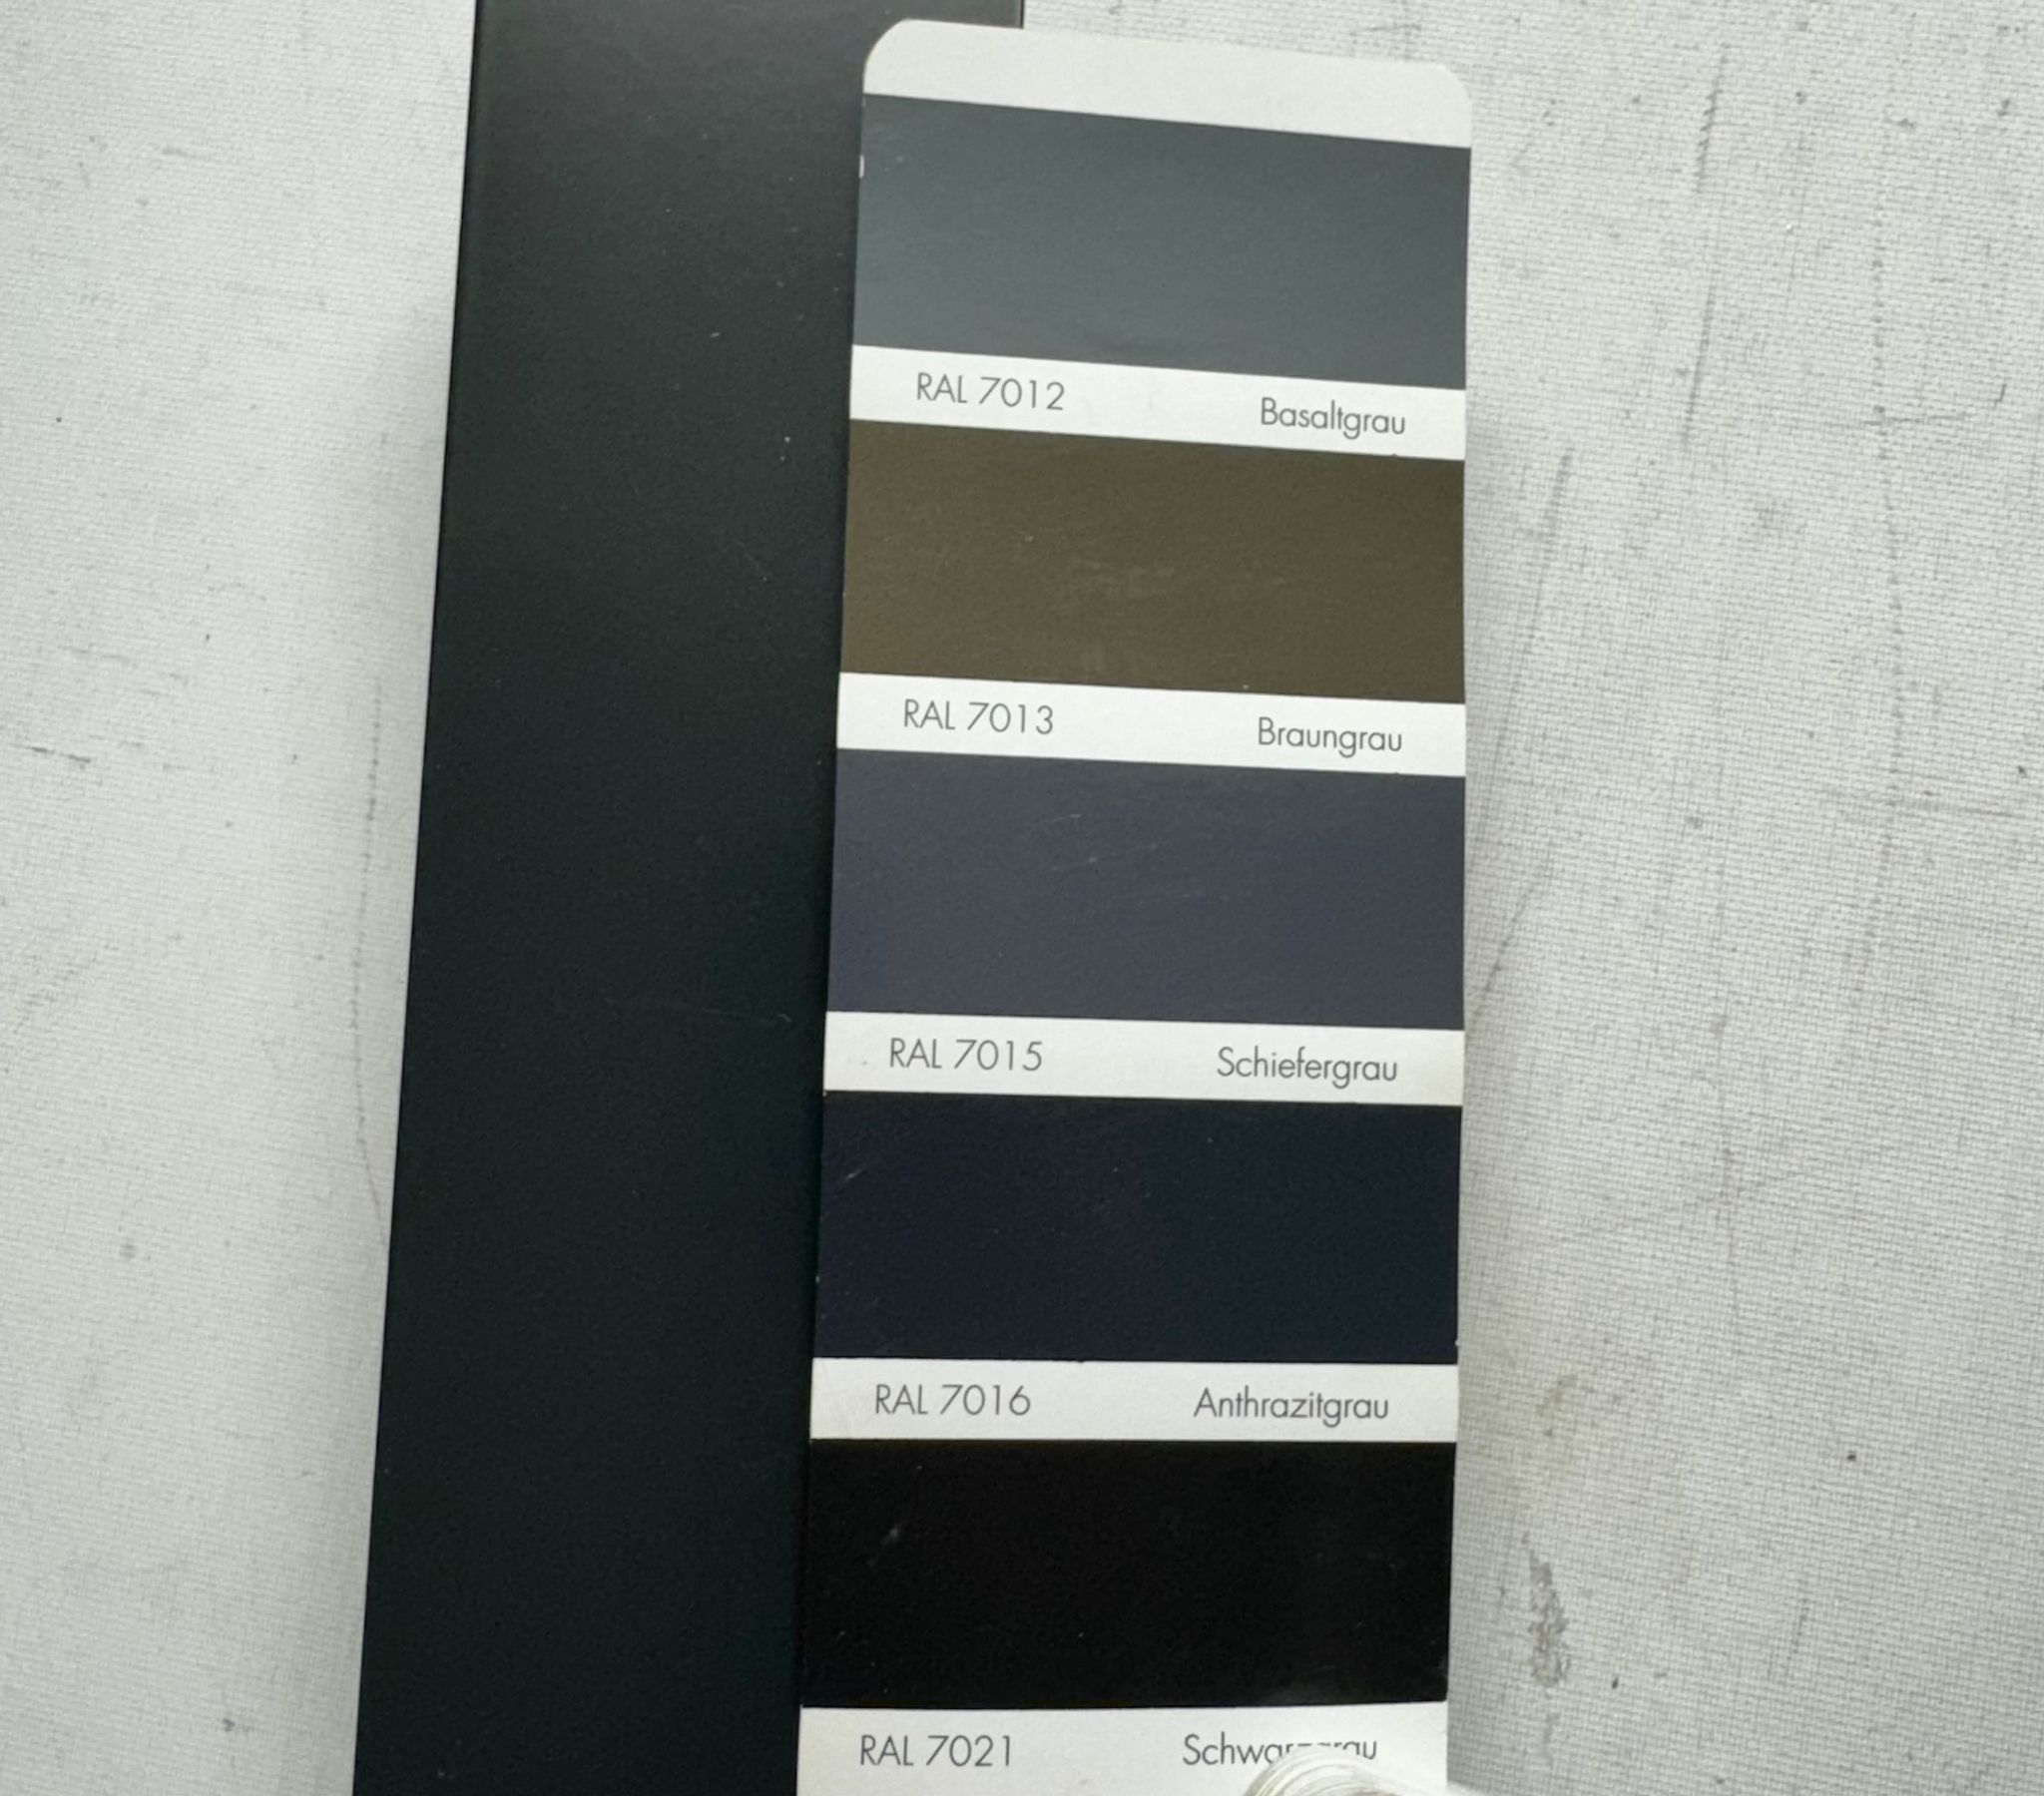
The anthracite frame is a shade off of RAL7016, and is indistinguishable when up inside a roof lantern. From the photo below, the anthracite frame is on the left and the colour chart is to the right.
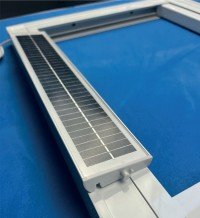
The solar panel sits above the blind and can be rested on top of the blind when it is fitted. It is around 20cm long and 3.5cm wide
When asked which motor we recommend, we always say the Novo motor. It is quieter and easier to troubleshoot than the Somfy motor. Also, accessories for the Novo motor are cheaper than the Somfy motor. Customers normally choose the Somfy motor when they have other Somfy products in their homes. However, if you love Somfy as a brand, it is a very good motor, and if you have other Somfy motors in your house, it makes sense to have the Somfy one in stock.
We can provide the Novo motor free of charge as our in-house motor, and we barely have any programming issues with them, limit setting, etc. Whereas in the past, anecdotally, when we only did Somfy motors, we spent a lot of time with customers fine-tuning the limits etc whereas the novo motors are self-setting, so very user-friendly.
There is an integrated lithium battery in the head of the blind that you charge (with the provided charger) when you receive the blind. This battery is then "topped up" by the solar panel that sits above the blind. About once a year, you will notice that your blind may start running a bit slower than normal. At this point, hook the blind up to the provided charger - in situ for 2 hours, and then your blind is good to go for another 6-12 months, depending on the size of the blind and usage.
The solar panel sits above the blind and can be rested on top of the blind when it is fitted. It is around 20cm long and 3.5cm wide
See p17 of this fitting guide 👉 https://www.skylight-blinds-direct.co.uk/media/RZY9Lptjgx35n342LIJX.pdf
"Your AC 240V cable goes into the INPUT side of the transformer. The + terminal is LIVE. The - terminal is NEUTRAL. A 0.75mm twin-core flex cable is more than adequate for the installation. The transformer is ‘double insulated’, it doesn’t have an earth connection."
If you see the second page of the fitting guide, it shows you that the transformer is in the head of the blind. When you place the order, you can choose remote control or battery-operated wall switch (which looks like a wall switch but you dont need to run wires to it as it is just battery operated - large watch-type battery).
For more information, contact us
Yes—this is actually very common! Most window recesses have slight variations due to uneven plaster, settling over time, or building quirks.
To account for this, we always ask for three width and three drop measurements (top, middle, bottom for width; left, centre, right for drop). This lets us check for any inconsistencies.
We’ll then use the smallest width and smallest drop, and take 5mm off each. This small deduction ensures your blind fits neatly without rubbing against the sides, and also allows for natural expansion and contraction in different temperatures.
If this process leaves a small gap between the blind and the wall, you’ve got two straightforward options:
Edge it with caulk – Ideal for narrow gaps. It’s easy to apply and can be painted over for a seamless look.
Use a flexible angle trim – Perfect for wider or uneven gaps. This bendable uPVC trim neatly covers the space and can be fixed in place with silicone or adhesive. 👉 Check out a suitable trim at B&Q
Even if your recess isn’t perfectly square, your blind will still look tidy and well-fitted with the right finishing touches.
Yes, our blinds can be integrated with Lutron, but you MUST specify from the drop-down menu the "Somfy motor", which is an extra £100. Here is more info on integrating Somfy motors with Lutron
What you need:
- A Lutron QSIO (a control box that goes onto your QS link-from Lutron direct)
- And from SOMFY DIRECT, a dry contact transmitter https://www.amazon.co.uk/SOMFY-Transmitter-Dry-Contact/dp/B077MP9T5H
- Get the blind working with the remote control first, copy from the remote onto the dry contact transmitter, then your Lutron integrator will wire in the power and the dry contact transmitter.